Creating a Digital Sketch of the Project Concept

Before you start drawing your project on good paper, you will create a digital “sketch” in Photoshop. We will then print this photo and you will use it as a reference. Make sure your digital concept sketch meets the requirements listed below.

Project requirements:

  • fills 18 x 24 paper with 2″ border (digital sketch will be 7.5×10 inches)
  • includes at least 50% of one human figure
  • shows an understanding of foreshortening
  • shows an understanding of value and color theory

How to Create your digital sketch

  1. Open the images you plan to combine in Photoshop. (You must combine at least two images to ensure that you have an original concept and are not just copying someone else’s work). I will start with the images below: alice_in_wonderland_bg   depositphotos_11818668-Little-girl-running
  2. Drag your figure image into the background: Screen Shot 2015-02-05 at 6.41.09 PM
  3. Use the eraser to erase most of the space around the figure. (Or if the background is solid and contrasts with the figure, you may be able to use the magic wand.) It does not have to be perfect, but you do want to see most of the background behind the figure: Screen Shot 2015-02-05 at 6.43.34 PM
  4. If necessary (many people can skip these steps):
    1. Scale the figure so it fits appropriately in the scene. (Edit->Transform->Scale).
    2. Rotate the figure so it fits appropriately in the scene. (Edit->Transform->Rotate).
    3. Flip the direction the figure is facing so it fits appropriately in the scene. (Edit->Transform->Flip Horizontal).
  5. Select the move tool from the toolbar on the left side of the screen.  move_tool Move the figure into the appropriate spot in the scene.
  6. Select the crop tool from the toolbar on the left side of the screen. crop_tool Set the dimensions at the top of the screen to 7.5 inches by 10 inches (or 10 inches by 7.5 inches). crop_dimensions
  7. Crop the image by pressing “Enter.”
    alice_in_wonderland_running
  8. Create a new blog post with a PNG or JPG of your digital sketch and a paragraph describing your project idea. (If you already wrote the idea, you can copy and paste it from your last blog post.)
New Project: The Figure & Foreshortening

Essential Question: How will I create an aesthetically appealing drawing that includes a realistic human figure?

In our next project, we will create a realistic drawing of the human figure.
Over the course of art history, artists have drawn and painted the human figure.
Here are some examples from different time periods:

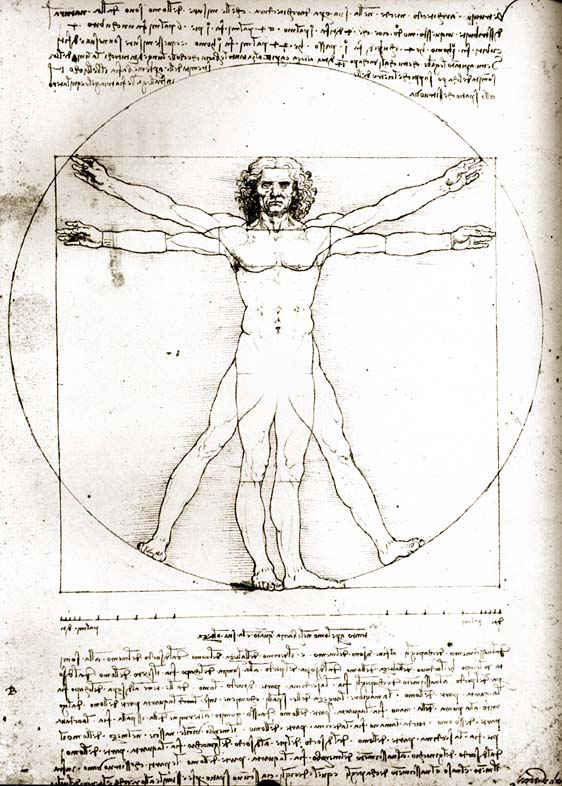
Leonardo Da Vinci Proportions of the Human Figure After Vitruvius, 1492

Leonardo Da Vinci
Proportions of the Human Figure After Vitruvius, 1492

Rembrant The Anatomy Lesson of Dr. Nicolaes Tulp, 1631

Rembrant
The Anatomy Lesson of Dr. Nicolaes Tulp, 1631

Edgar Degas Ballet Rehearsal, 1873

Edgar Degas
Ballet Rehearsal, 1873

Keith Haring

Keith Haring, 1980s

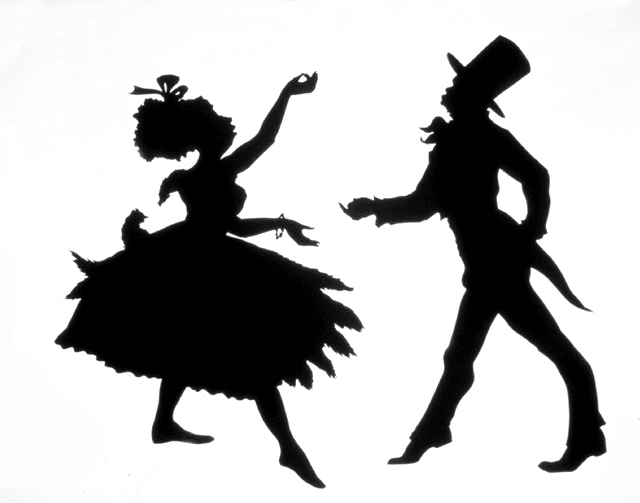
Kara Walker Gone, 1994

Kara Walker
Gone, 1994

For our next project, we will create an 18×24 colored pencil drawing.
It should show an understanding of foreshortening and include at least 50% of one human figure.
The rest is up to you!

Here are some examples  that would meet the project requirements (if the black & white ones used colored pencil). Use these for inspiration, but by no means limit your ideas:

6ffc9078880e954c90b5b5436ff62d0e   a86d5440c41d7d1fd2f9411dbbfd1ffb

350dbdb35840209f9bb9312d00c6936d   e86a88655e8dea87e20369c78b35e6c7

ad4b70db32d3d686829440b45e2501e3   95de22ec80460c83a8c23eeca98e1be7

Robert recently created a great example of a figure drawing with foreshortening:
robert_extra_credit

Important note: This is a figure drawing, not portraiture, project. You are welcome to draw the face of your subject, if you so choose, but by no means are you required to do so. If you are nervous about drawing the face, feel free to come up with a creative solution to avoid doing so (ie. subject wears a mask, face is in the shadows, subject is turned away from the viewer in such a way that the face is hidden).

Project requirements:

  • fills 18 x 24 paper
  • value created with colored pencil
  • includes at least 50% of one human figure
  • shows an understanding of foreshortening

Sketchbook requirements for unit:

  • 3 figure sketches (1 each from front, side, and back view). Those who completed their 3 sketches on Friday are done with this part!
  • 3 drawings of hands in different poses
  • 3 drawings of feet (Include different views, such as front, side, and back, and different footwear (sneakers, sandals, high heels, barefoot)
  • Colored pencil planning. Work out the colors you will blend to create realistic shading for each part of your design. Skin tone will probably be the most difficult part of this exercise, but also plan out how you will highlight and shade any colors used in the clothing and background.

Today we will:

  • Brainstorm ideas for our figure drawing project
  • Create a new blog post with the following:
    • Any reference images you plan to use (both for the figure and the background)
    • A one paragraph description of your idea
  • If you have time, create a new Photoshop file that is 7.5 x 10 inches (or 10 x 7.5 inches) and combine your figure(s) and background in this file. Post this combined image to your blog so Ms. Lawson can print it

If you are having difficulty coming up with a project concept, work on the sketchbook assignments listed above in the meantime.