Today’s essential question:What are some characteristics of a good self-portrait?
Today we will begin our Digital Circlism self-portraits. We will prepare our reference selfies and begin working in Illustrator. Make sure you post BOTH your reference photo AND the work you have completed in Illustrator in today’s blog post, and upload BOTH to your Google Drive.
Artist Ben Heine (depicted in the self-portrait on the left) creates realistic portraits using circular flat areas of color against a black background.
Project Requirements:
- 11×14″ (portrait) or 14×11″ (landscape)
- Created in Adobe Illustrator with the ellipse tool
- Uses a reference photo of yourself. Can be either a current photo or a baby/childhood photo.
- Shows high-quality craftsmanship and technical skill
- No overlapping circles or large gaps between circles
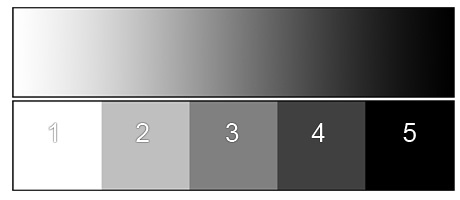
- Circles properly capture value transitions
- Daily progress posted to class blog. Computers malfunction, and it is your responsibility to back up your work to a USB Drive or your Google Drive.
Examples of Bad Reference Selfies:
What are some issues with these selfies?
What are some characteristics of a good self-portrait reference photo?
Part 1: Take your reference photo
Use your phone or a class camera to take your reference photo. You may also use an existing selfie as long as no parts of your face are obscured.
Part 2: Make sure your image is the correct size in Photoshop
- Open the file in Photoshop
- Select the crop tool from the toolbar on the left side of the screen

- At the top of the screen, set the dimensions to 11×14 inches

- Drag the crop tool to select the area you would like to crop
- Press the “enter” key to crop your photo
- Save your reference photo
-

-
Before
-

-
After
Part 3: Setting Up your File in Illustrator
- Create a new file in Illustrator (File -> New Print Document)
- Set the dimensions to 11×14 inches
- Place your reference photo in the Document (File -> Place)
- Scale the reference photo so it fits within the edges of the document
- Lock your reference layer
- Save your file as a PDF
Part 4: Drawing Circles
- Click and hold on the shape tool until an ellipse appears in the drop down menu.
Select the ellipse:

- On the lower left side of the screen, adjust the color so you do not have a fill, and your outline color is something that will stand out against your skin and hair (bright blue or neon green are good choices.)

- Hold down on the shift key and drag to create an appropriately sized circle. You can adjust the size of the circle using the black arrow tool, and move the circle using the arrow keys on the keyboard.
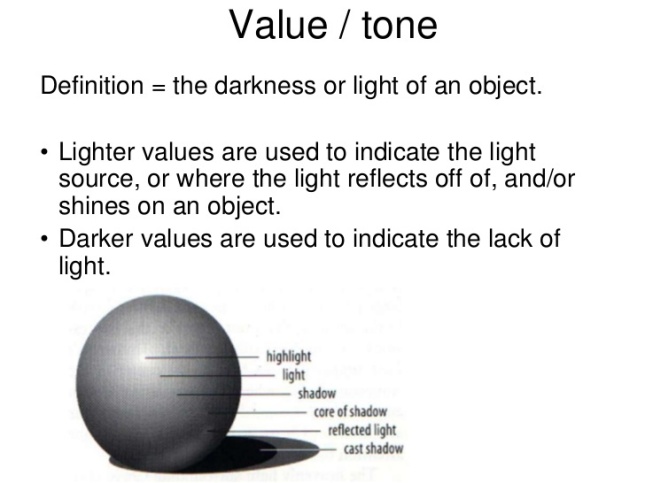
- Use value/color changes to determine where to draw circles, like the example below:

Pacing Guide: You should have most of your image filled with circles by the end of Friday’s class. Please make sure you are drawing your circles large enough that this is realistic. (This does not include the background – that will remain solid black.) It is often easiest to start with the forehead and/or cheeks, since these tend to be large, flat areas of color.
Today we will:
- Introduce the Digital Circlism project
- Take our reference photos
- Crop our reference photos in Photoshop to the correct dimensions
- Post our reference photos to our blogs
- Set up our Digital Circlism projects in Illustrator
- Post both a PDF and PNG of our progress to our blogs


 .
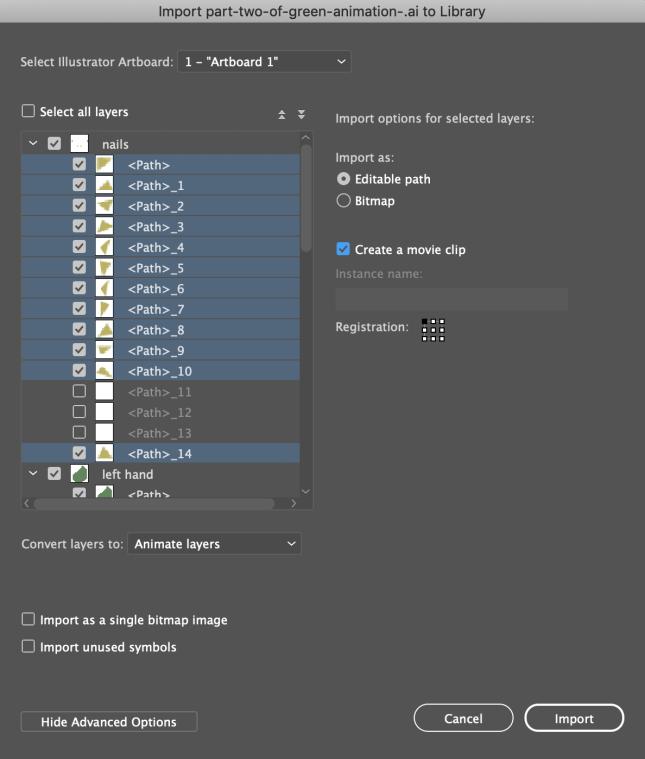
. to organize your layers:
 to move all rotation points to the correct locations

 in the spots in the timeline where you want your action to change