Today’s essential question: What are some common issue that arise when taking photos in front of a green screen? How can we prevent them?
Today we will continue photographing ourselves in front of a green screen, trying to prevent common green screen photography mistakes.
Common Green Screen Photography Mistakes
Missing Body Parts
Why it happens: The subject’s clothing or accessories are too close in color to the green screen.
How to prevent it: Avoid green clothing, accessories, and subjects. When that is not possible, create a screen in a color that contrasts with the colors you are photographing.
Camera angles do not match
Why it happens: Different photos are taken from different camera angles. These photos then will not work together if composited into the same image in Photoshop.
How to prevent it: Set up a tripod to your desired height and camera angle, and keep it consistent as you photograph all of your subjects. Make sure the angle of the camera matches the angle of your background scene.
Motion Blur
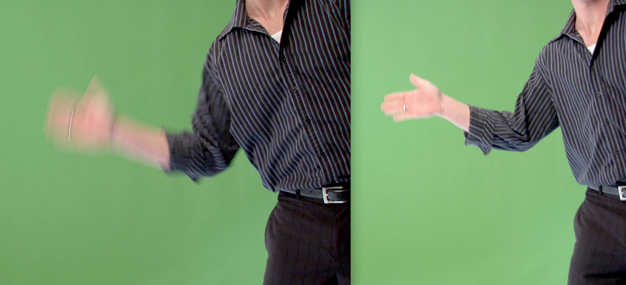
Why it happens: The subject moves before the camera finishes taking the photo.
How to prevent it: Use a quick shutter speed (if you have a DSLR), make sure there is sufficient lighting, and remind your model to remain as still as possible.
Subject Extends beyond the Green Screen
Why it happens: The model and photographer do not take the camera angle and subject’s position into account before taking the photo.
How to prevent it: Take test photos and adjust the position of the model and camera/tripod as necessary.
Subject is not Realistically Posed
Why it happens: The model awkwardly acts out a pose without the necessary props, and consequently, poses themselves incorrectly. When the scene and props are later added in Photoshop, they do not fit or look strange.
How to prevent it: Provide the model with placeholder props and scenery that mimic the size and shape of whatever will be added in Photoshop. It’s amazing how much simple objects such as boxes, paper towel rolls, rope, and stuffed animals can help the model pose properly.
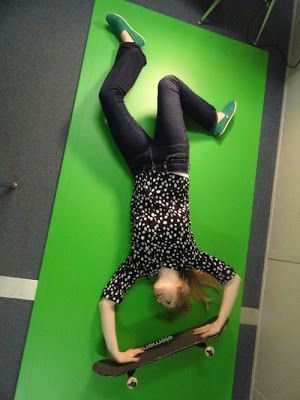
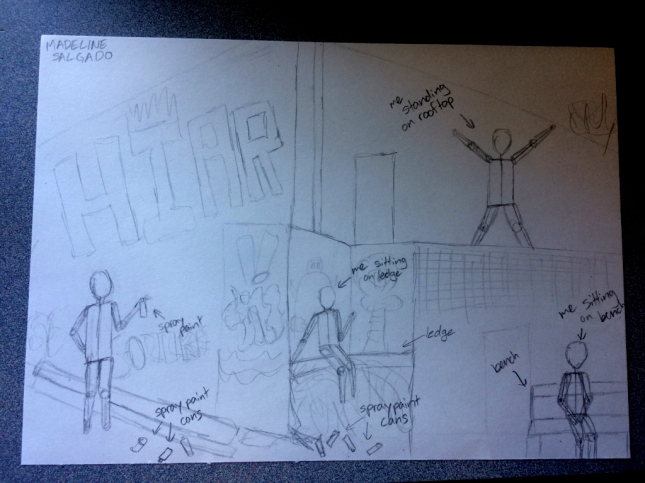
Bonus Tip: Place Green Screen on Ground to Easily Capture Action Shots
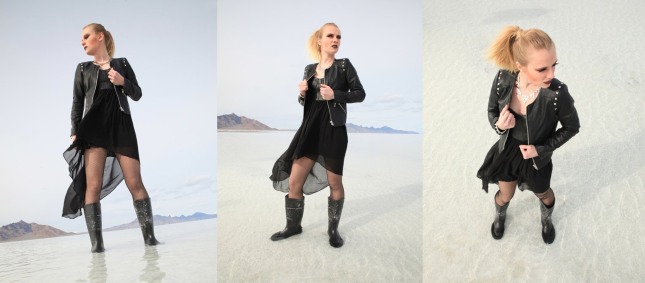
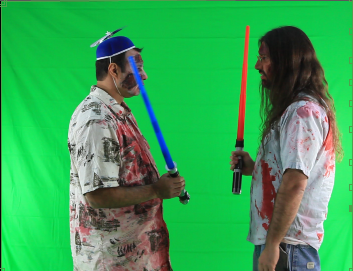
Here are some of my favorite photos from last class:

SONY DSC

SONY DSC

SONY DSC

SONY DSC

SONY DSC

SONY DSC
Removing the background from an image
The pen tool
If you would like more control than the quick selection tool provides, use the pen tool to path around your objects. Today we will learn how to use the pen tool to path out part of a photo and copy and paste it on a new layer. You can then drag the layer with the isolated object into the Photoshop file where you are building your scene.
How to create a composite image:
- Go to the “paths” window on the lower right side of the screen. It is likely tabbed next to the layers palette.
Click the “new path” button. 
- Go to the toolbar on the left side of the screen. Select the pen tool.

Outline the part of the photograph you want to modify.
- Once you have closed your shape by clicking on the first point, go back to the paths window.
Right click on the path you have created, and click “make selection.”

Feather the selection by 1pixel (this will soften the edges of your selection).
It should look like ants are marching around the part of the photo you have selected.

- Control + C to copy your selection. Control + V to paste your selection. Hide the original image by clicking on the eye icon.

- Save your file as both a Photoshop file and a PNG. (You will be able to post the PNG to your blog and maintain the transparent background.)
Today we will:
- Take photos in front of the green screen
- Begin removing the backgrounds from our photos
- Create a new blog post with the following:
- images of any work created today (any photos taken, and PNGs of any images where the background has been removed)
- a brief reflection of any challenges you faced, how you worked through those challenges, and what you would like help with


 Today we will check the progress reports in our folders, and finish and submit any missing or incomplete assignments listed on the progress reports. If you are not done by the end of today’s class, please schedule an appointment to finish your work, as we will be starting our Multiple Mes project next class.