Project Requirements: Skateboard Deck Painting

For our next project, we will paint a skateboard deck with acrylic paint.

Your project must meet the following requirements:

  • Entire skateboard deck painted with acrylic paint
  • Balance of positive and negative space
  • Displays a cohesive color scheme
  • Shows unity and movement
  • Contains no words, letters, numbers, copyrighted characters, or trademarks
  • Displays good craftsmanship and technical skill

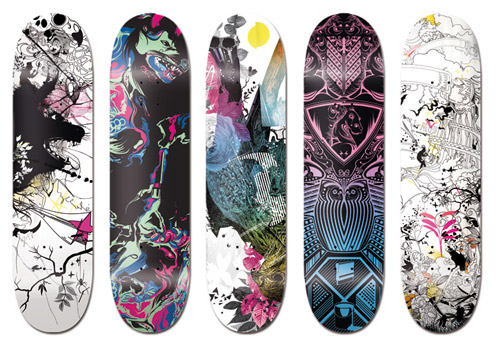
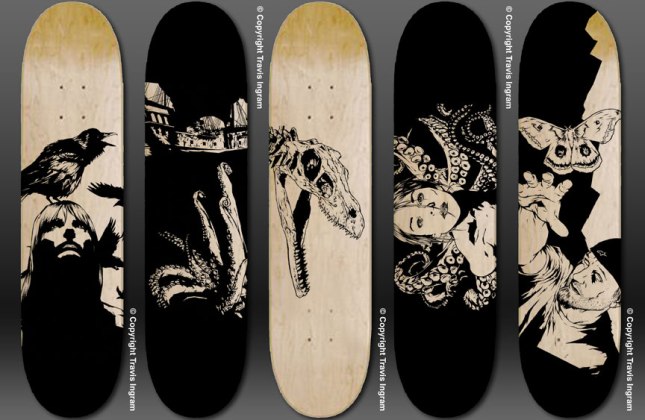
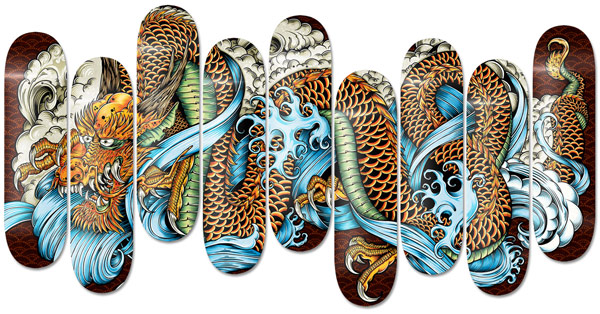
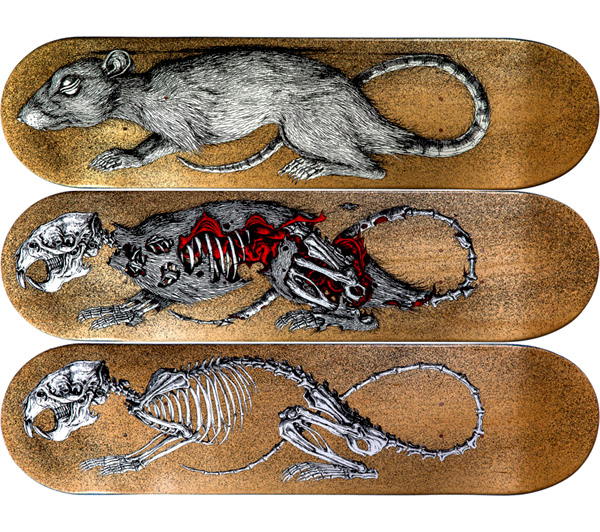
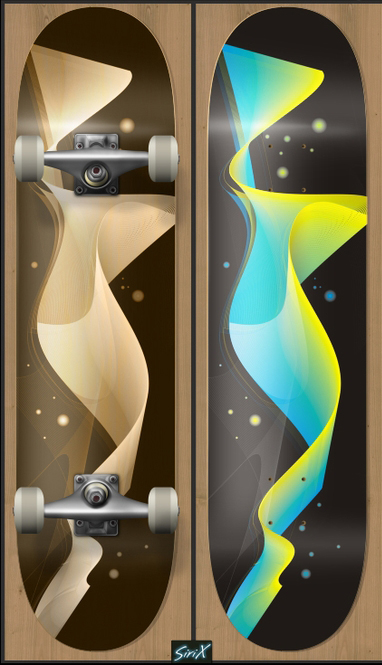
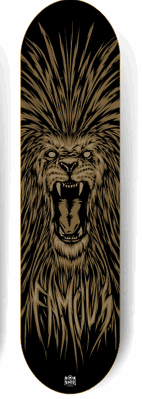
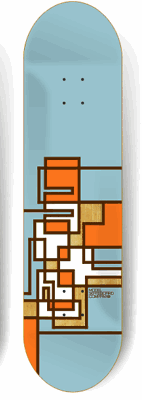
Here are some skateboard and snowboard deck designs to get you started:

skateboard_deck_designs_by_nimirofox-d73ldae  3designs   decks_vault49  d4f7377f90adda1e88c42636efe16631  chuck-anderson-no-pattern-skateboards  798741230124519  Pale-Horse_Tatsu-1  sk8room-roa-skateboard-deck  Skateboard_by_Sir_SiriX    burton-ginger-snowboard  Burton-Custom-2012-Snowboard-01  burton_snowboard_fish-snowboard_160 707691207116912  707691207116676  547101227106640

Today we will:

  • trace the skateboard pattern onto a piece of cardboard, gesso the cardboard, write your name on an area of cardboard that has not been gessoed, and place the cardboard in the drying rack
  • post any inspiration photos that you would like Ms. Lawson to print to your blog
  • create a concept sketch on the blank skateboard handout and color it in with your intended color scheme

New Project: Shattered Value Painting

Step 1: Create a SIMPLE shape with some negative space
skull_positive_negative_space_small

Step 2: Draw two vertical lines and 3 horizontal lines to divide your shape
skull_dividing_lines_small

Step 3: Starting in one of the middle squares, paint a gradient with two of your colors.
If there is a negative space area, use the contrasting color in that part.
coloring2

Step 4: On one of the square next to the one you just painted, paint a gradient with the remaining two colors. Make sure there is high contrast where the edges touch.
coloring3

coloring4

Today we will:

  • Sketch potential SIMPLE shapes for our shattered value painting, and color in the positive space.
  • After Ms. Lawson approves the shape, draw the shape on a piece of poster board.
  • Use a ruler to draw two vertical and three horizontal lines to divide the space.

Peer Critique

Today we will hang all of our foreshortening projects up for a peer critique. Most of them are turning out a lot better than you think! Each person will fill out a Post It Note for a minimum of three projects stating what is working in the artwork and some suggestions on how to improve the project.

Peer Critique Guidelines:

  • No project should have more than 4 post it notes. If the project you want to critique already has 4 post it notes, find another project to critique!
  • Make sure your comments follow the “thoughtful comment guidelines”
  • No one may take down their project to work on it until each project has at least 2 Post It Notes with comments on it
Thoughtful comments
  • Give specific details as to what is working (so the artist doesn’t erase the best part of the project in a moment of frustration)
  • Offer specific suggestions on what to improve
  • Example of a thoughtful comment: “The highlights in the hair look realistic. Try adding that same amount of detail to the shirt.”
Bad comments
  • Are too vague to be helpful.
    For example: “That’s wavy!” and “I like it!”
  • Are rude.
    For example: “The shading looks like a little kid did it.” (You can get the same point across with, “Try blending out the pencil lines with a Q-tip or paper towel to create smoother shading.”)

Here are some projects that are looking great so far:

Today we will:

  • Peer critique our projects
  • Continue working on our projects, implementing the feedback we received during the peer critique
  • Create a new blog post with the following:
    • A photo of your artwork
    • The feedback you received during today’s critique
    • What you still need to do next class to finish the project