Part 2: Georgia O’Keeffe-inspired Abstract Oil Pastel Drawings

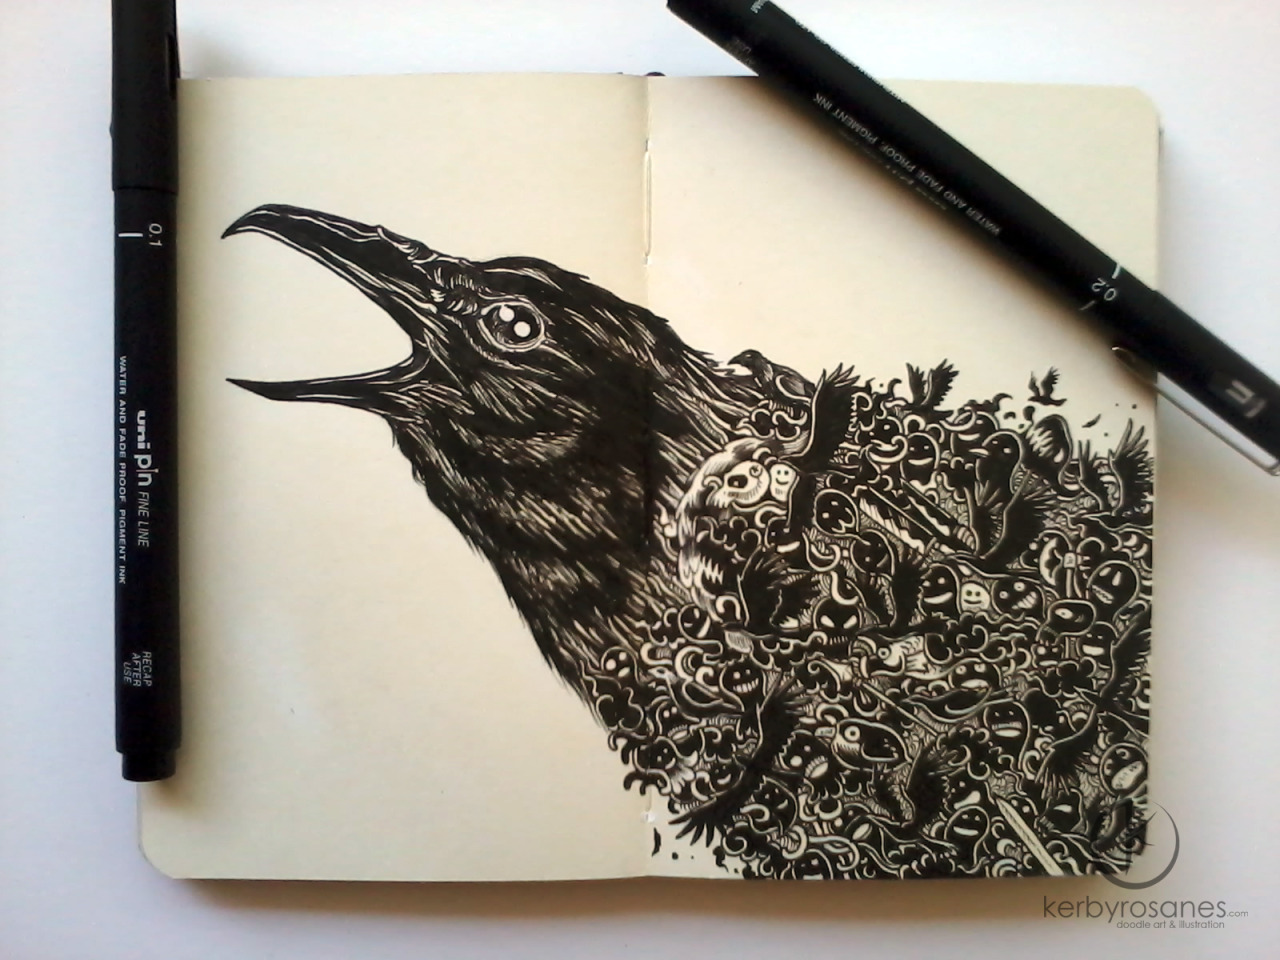
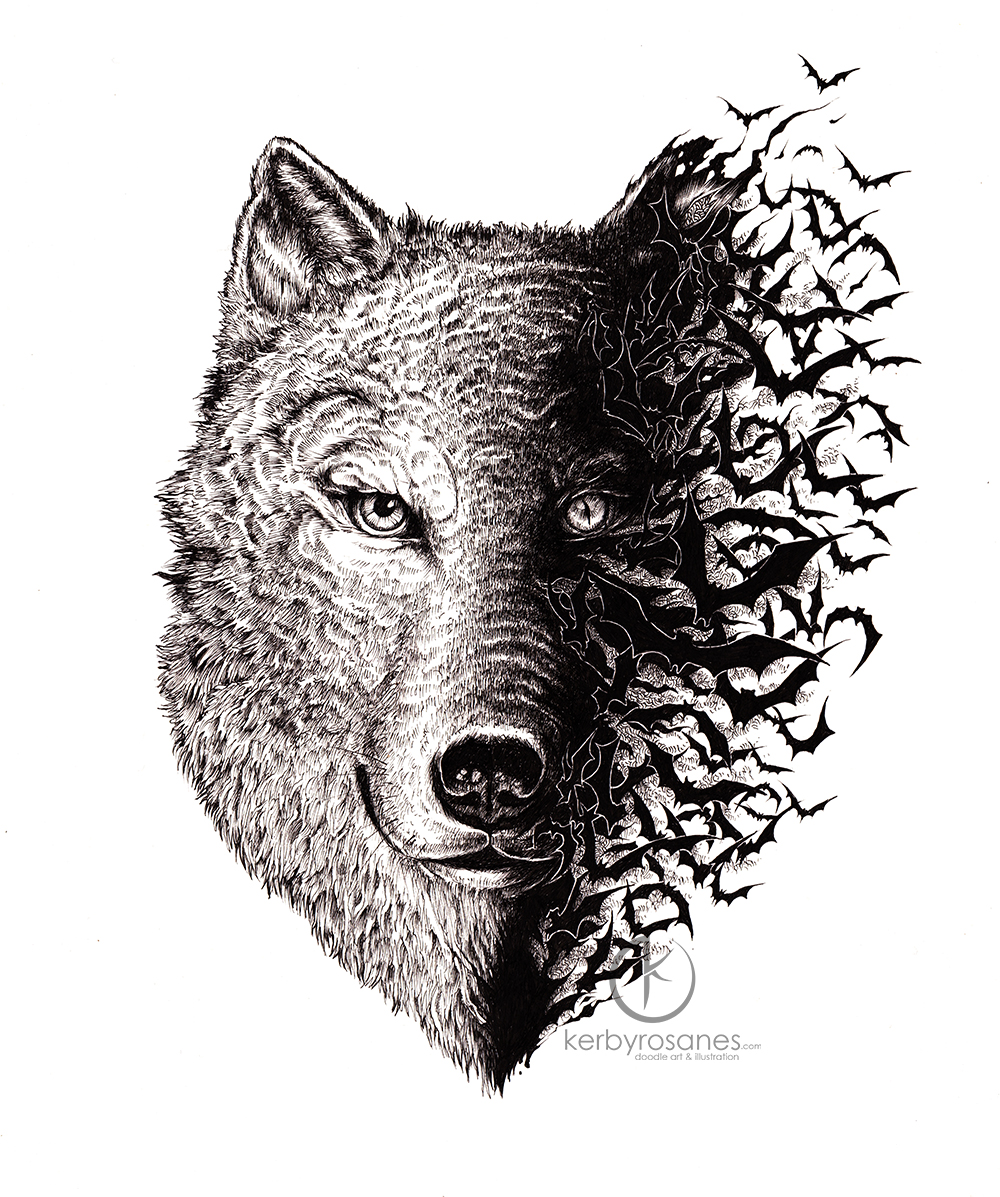
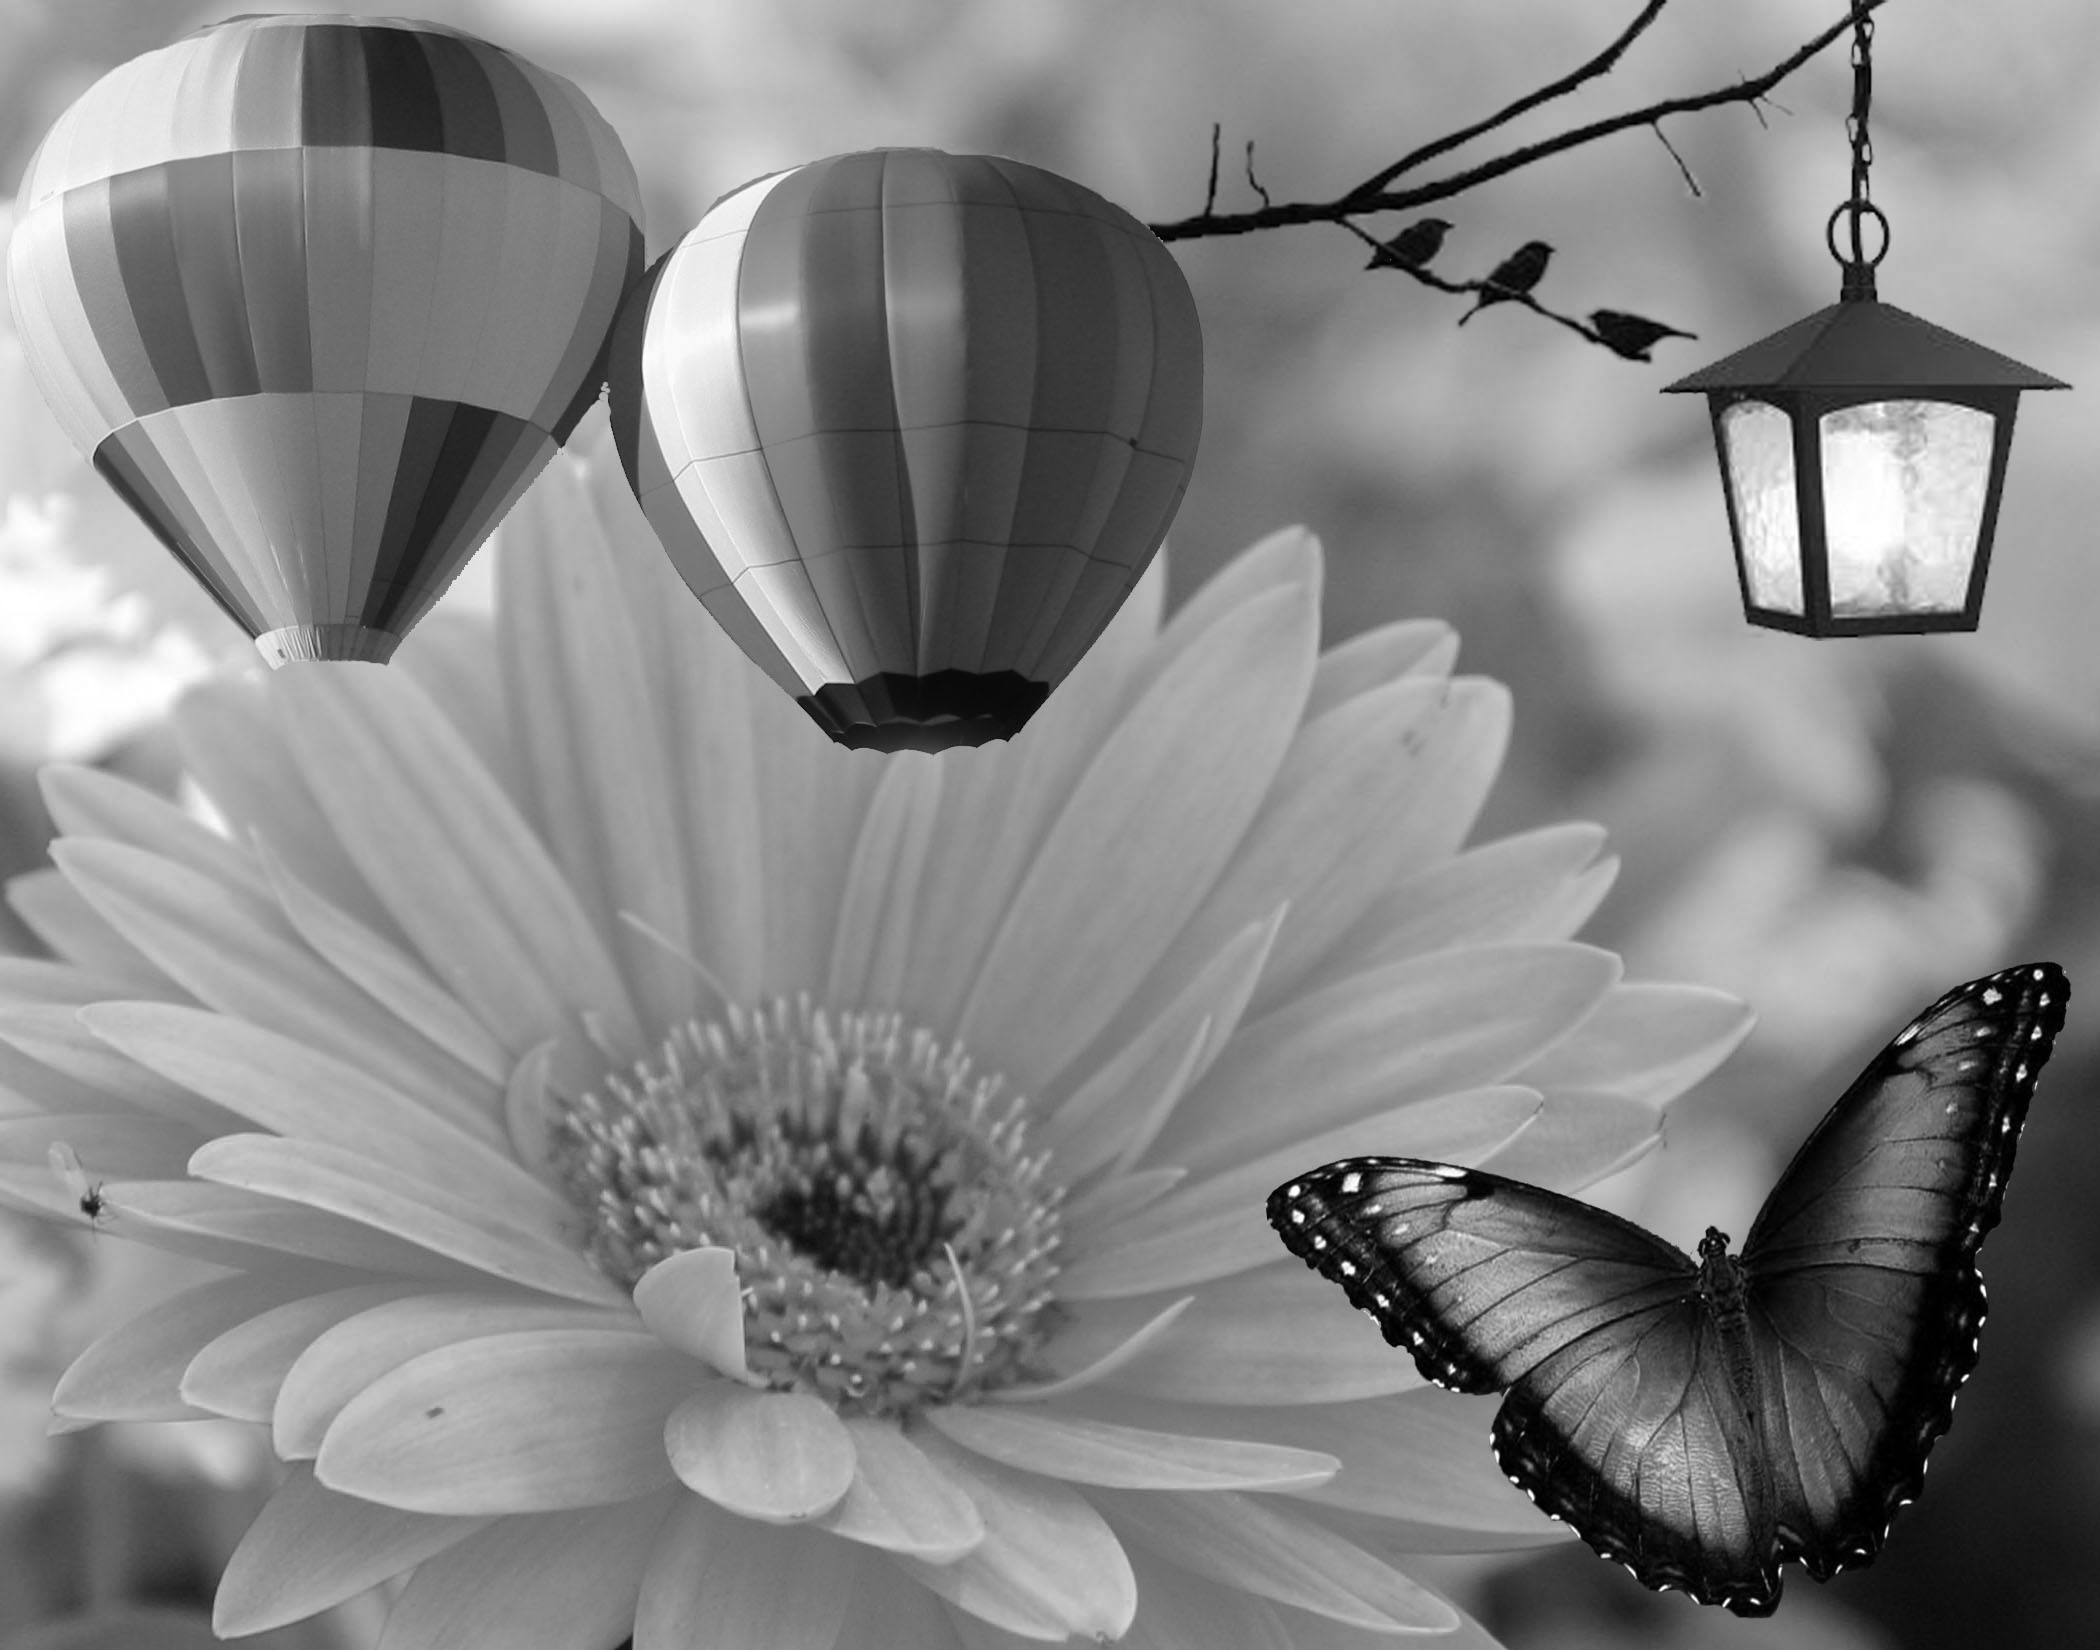
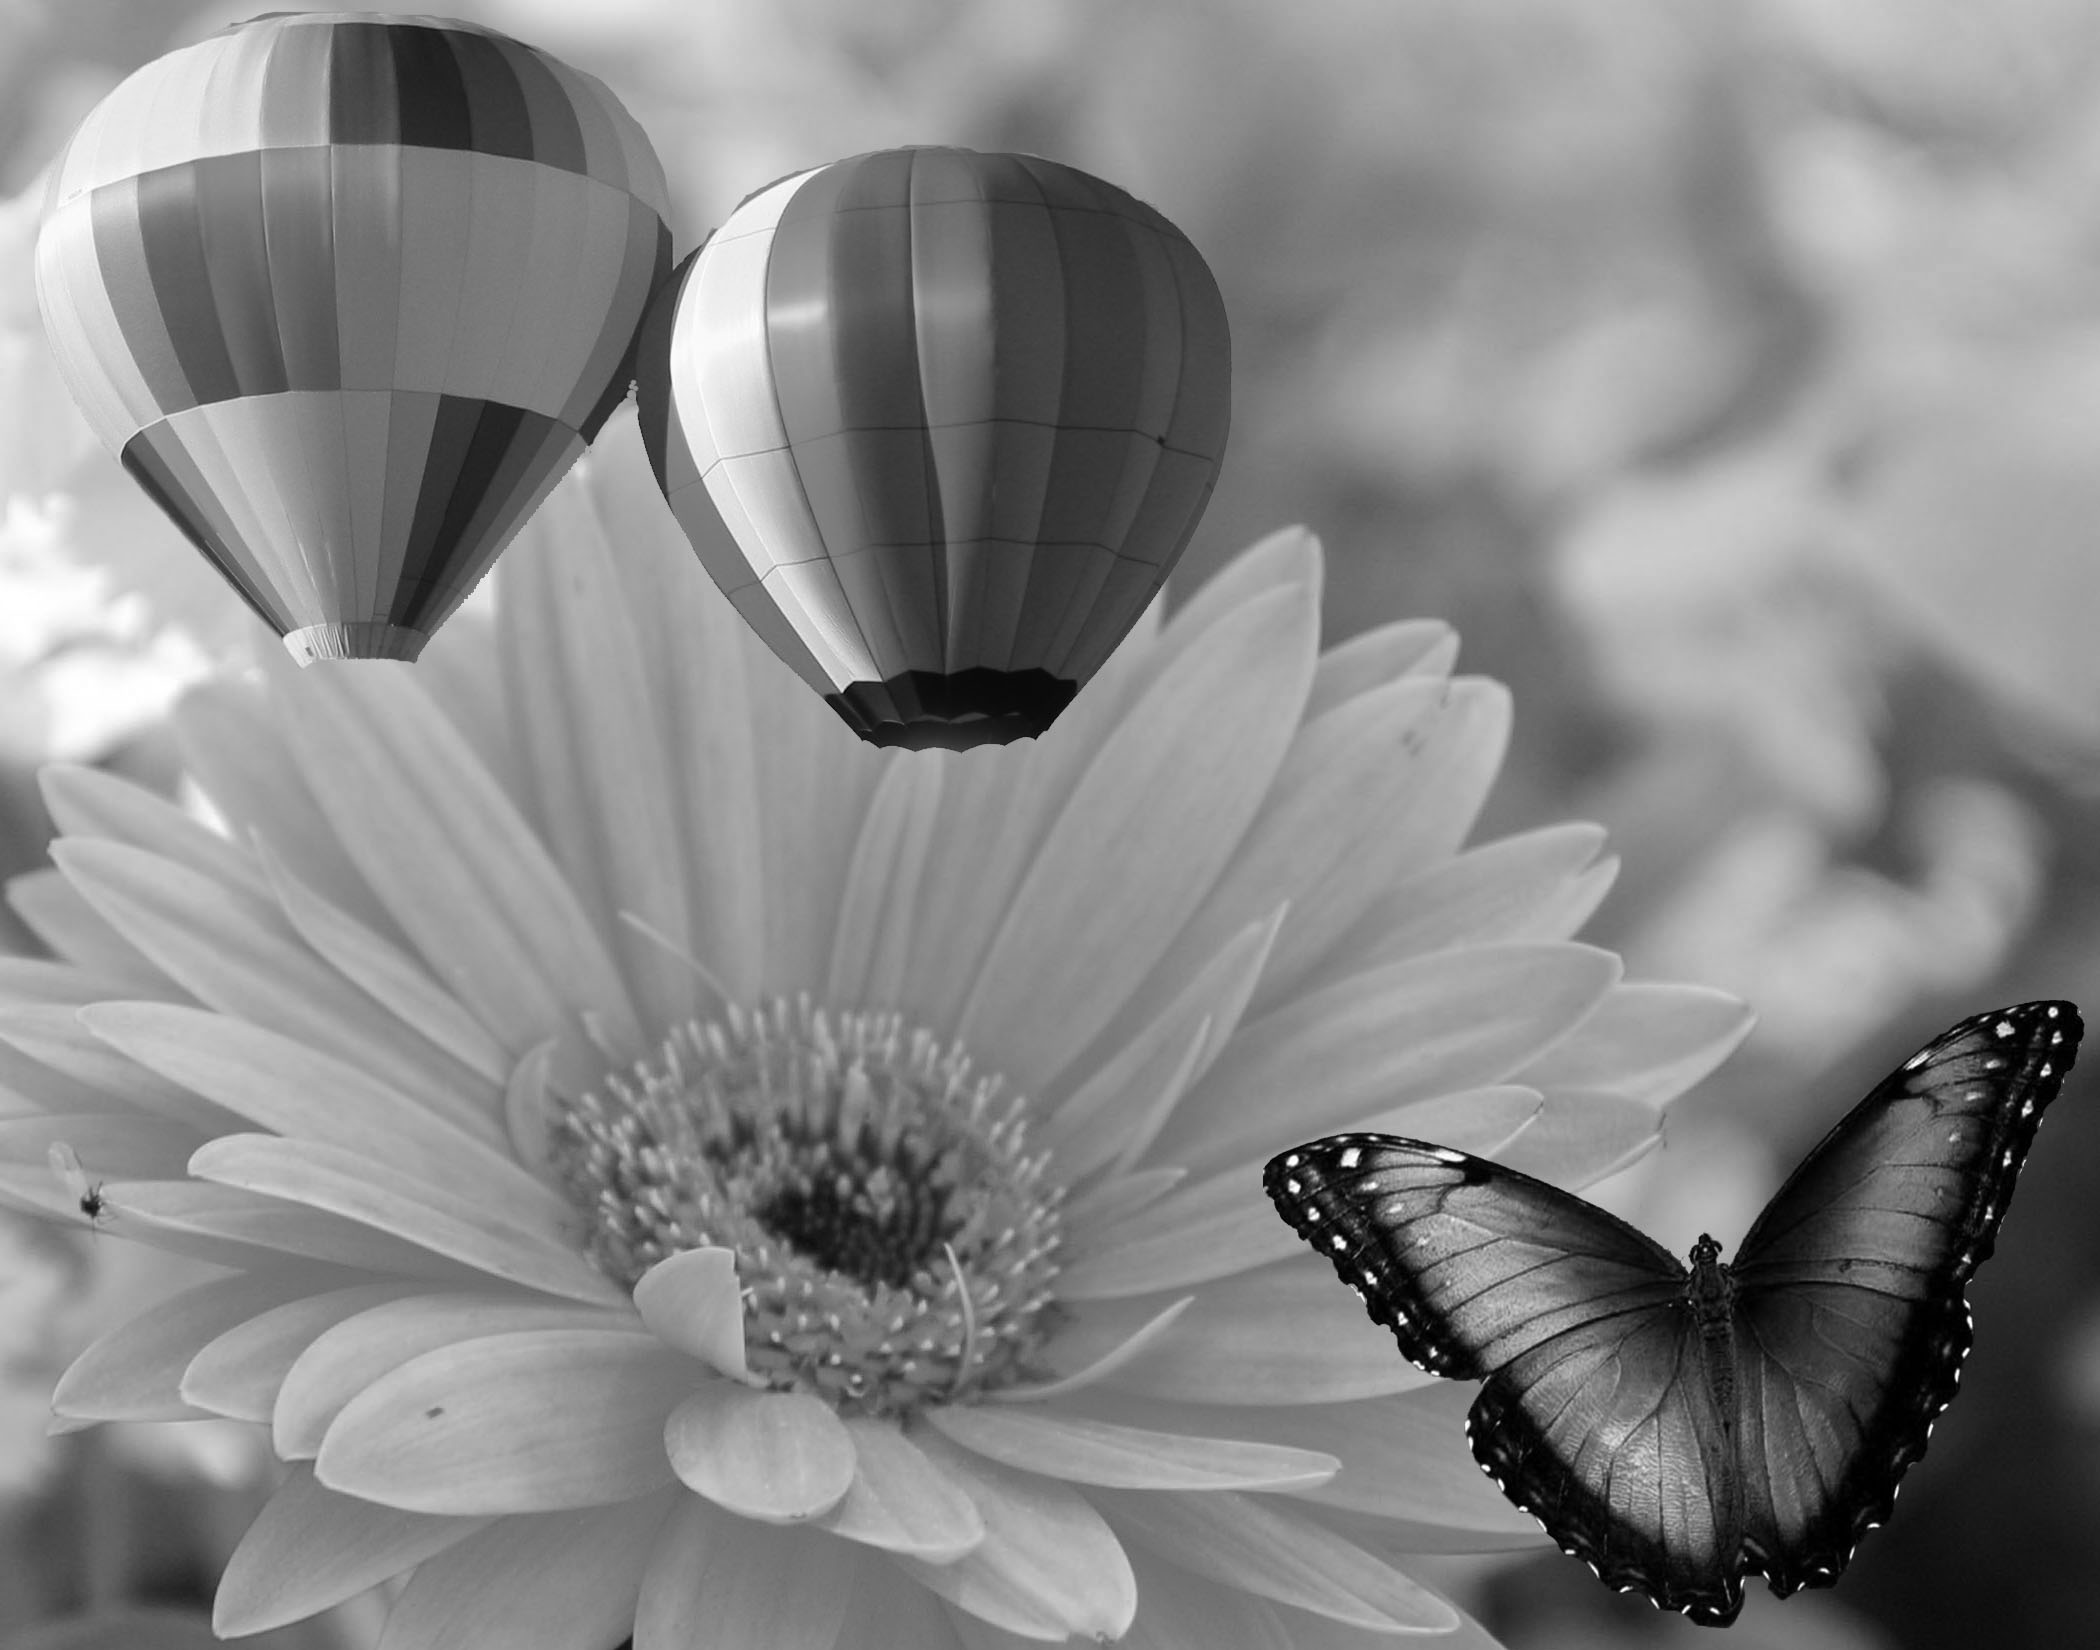
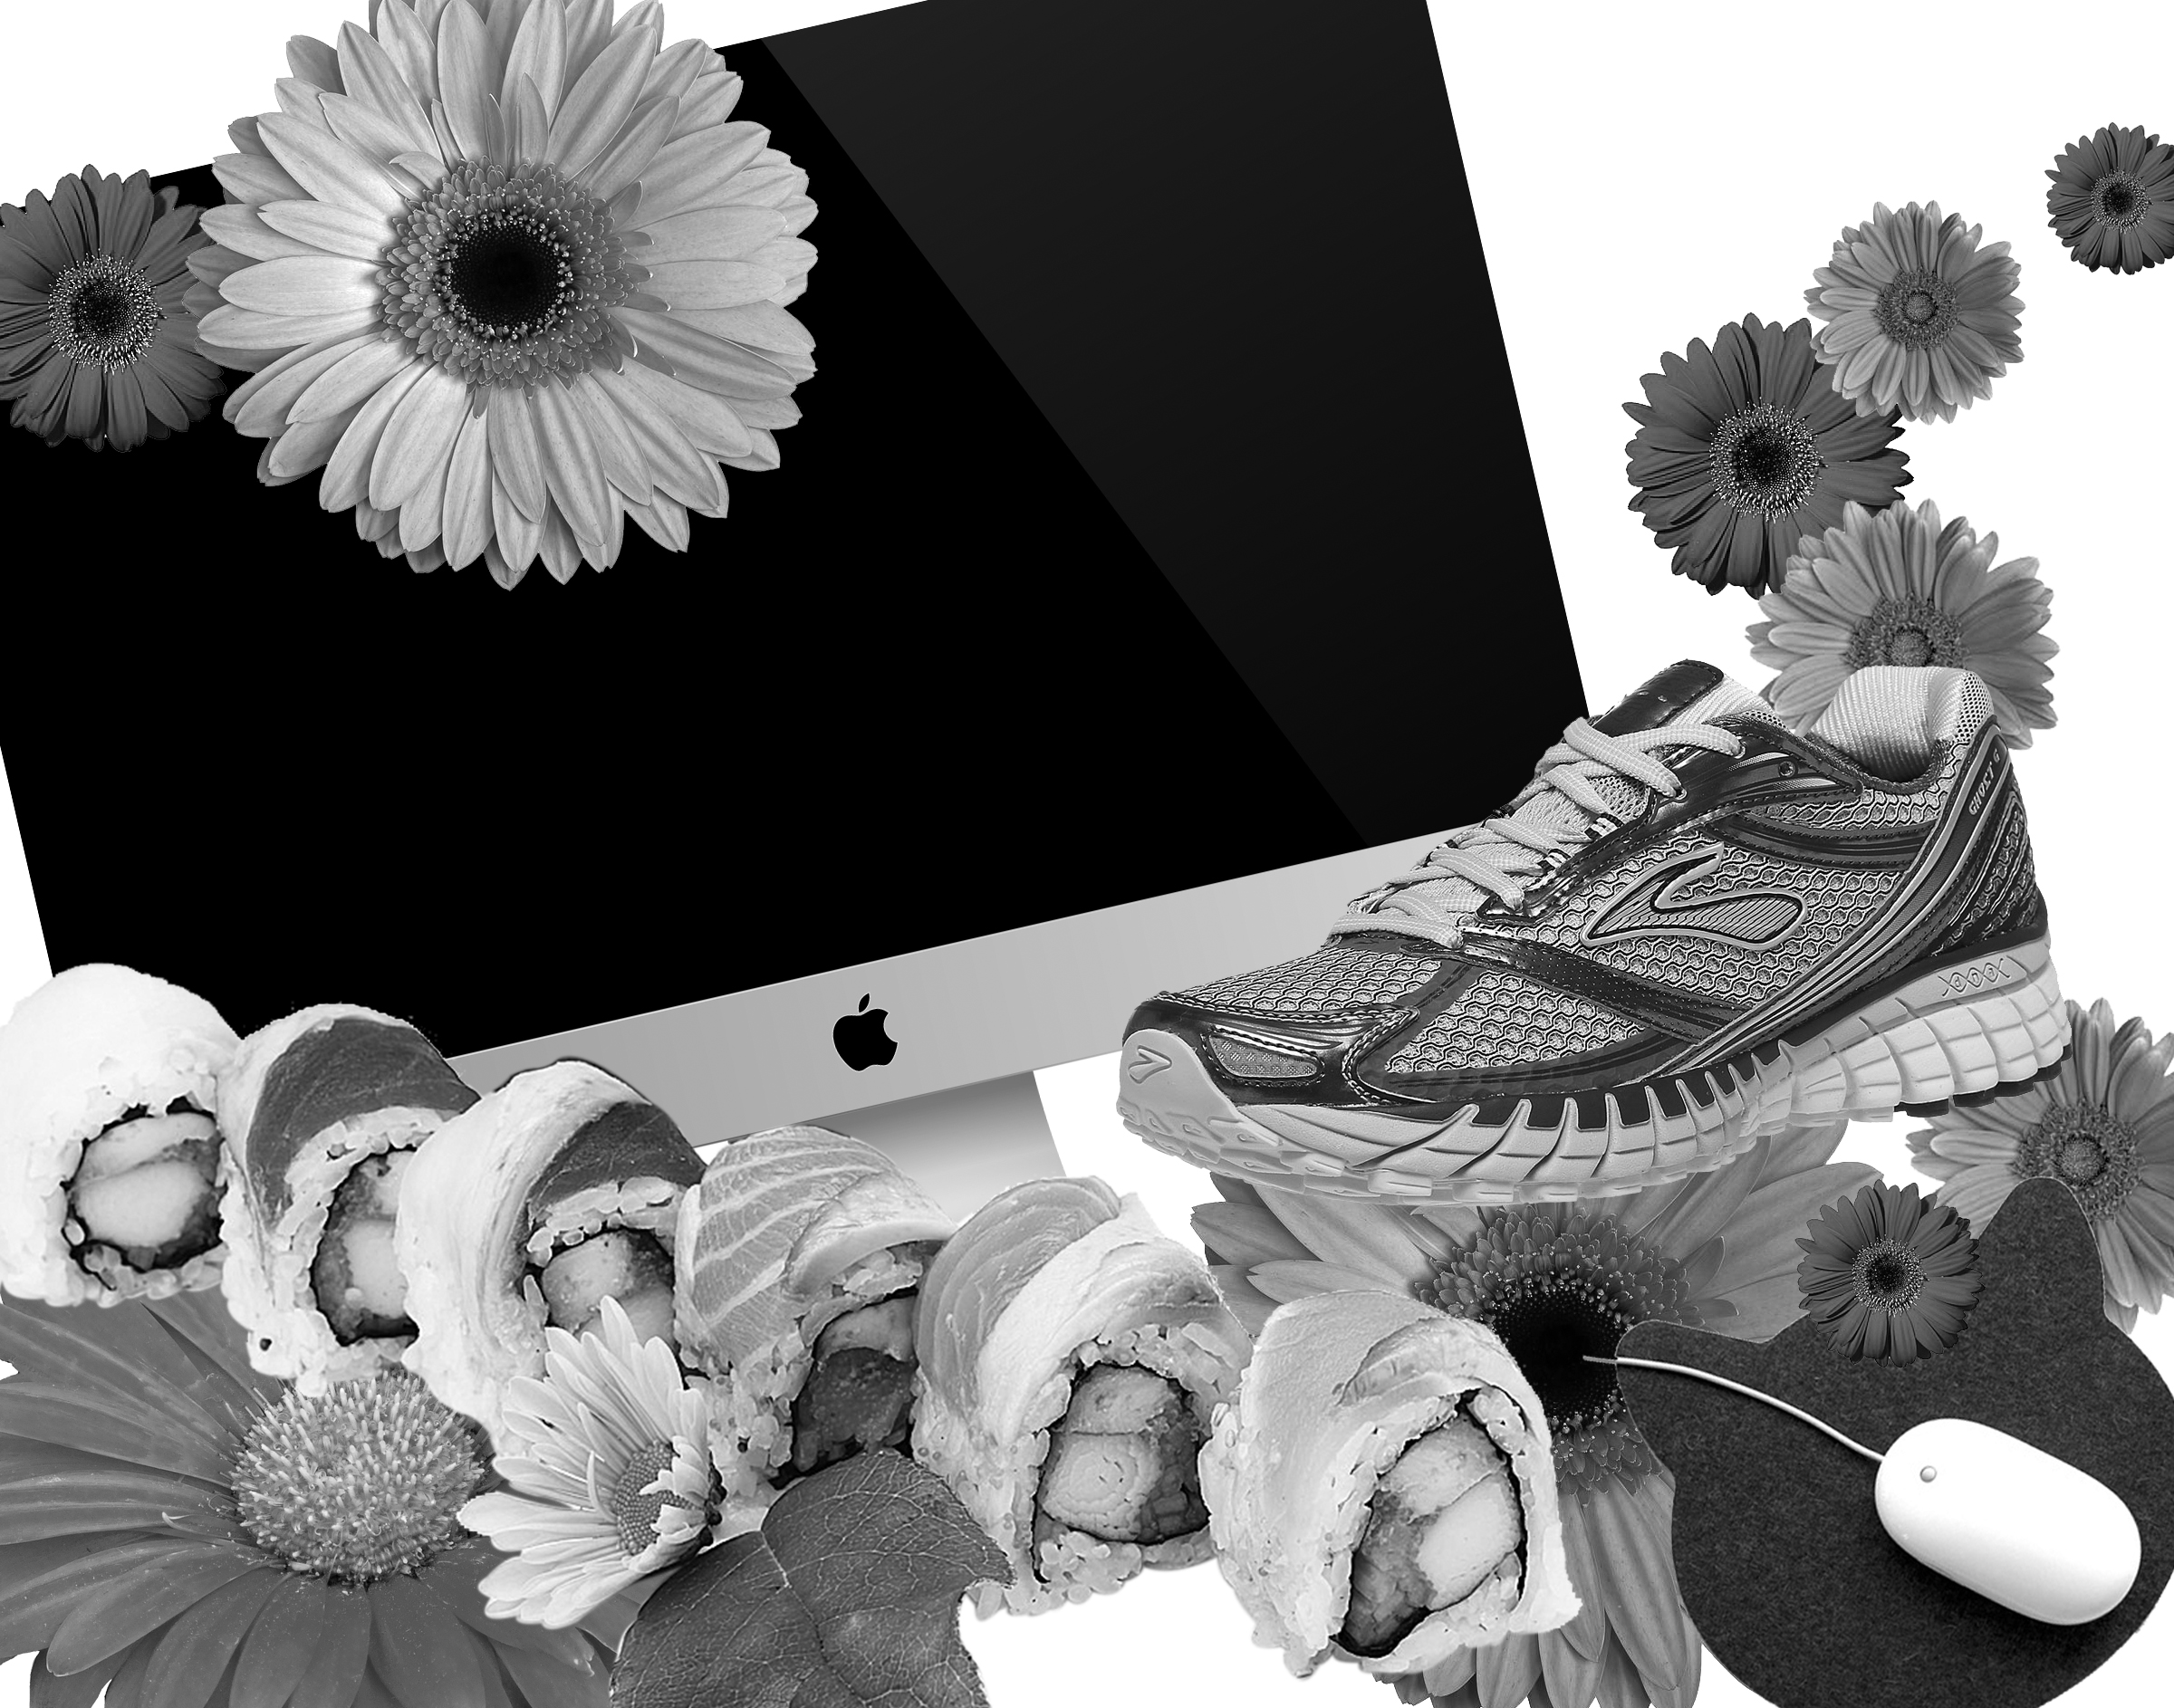
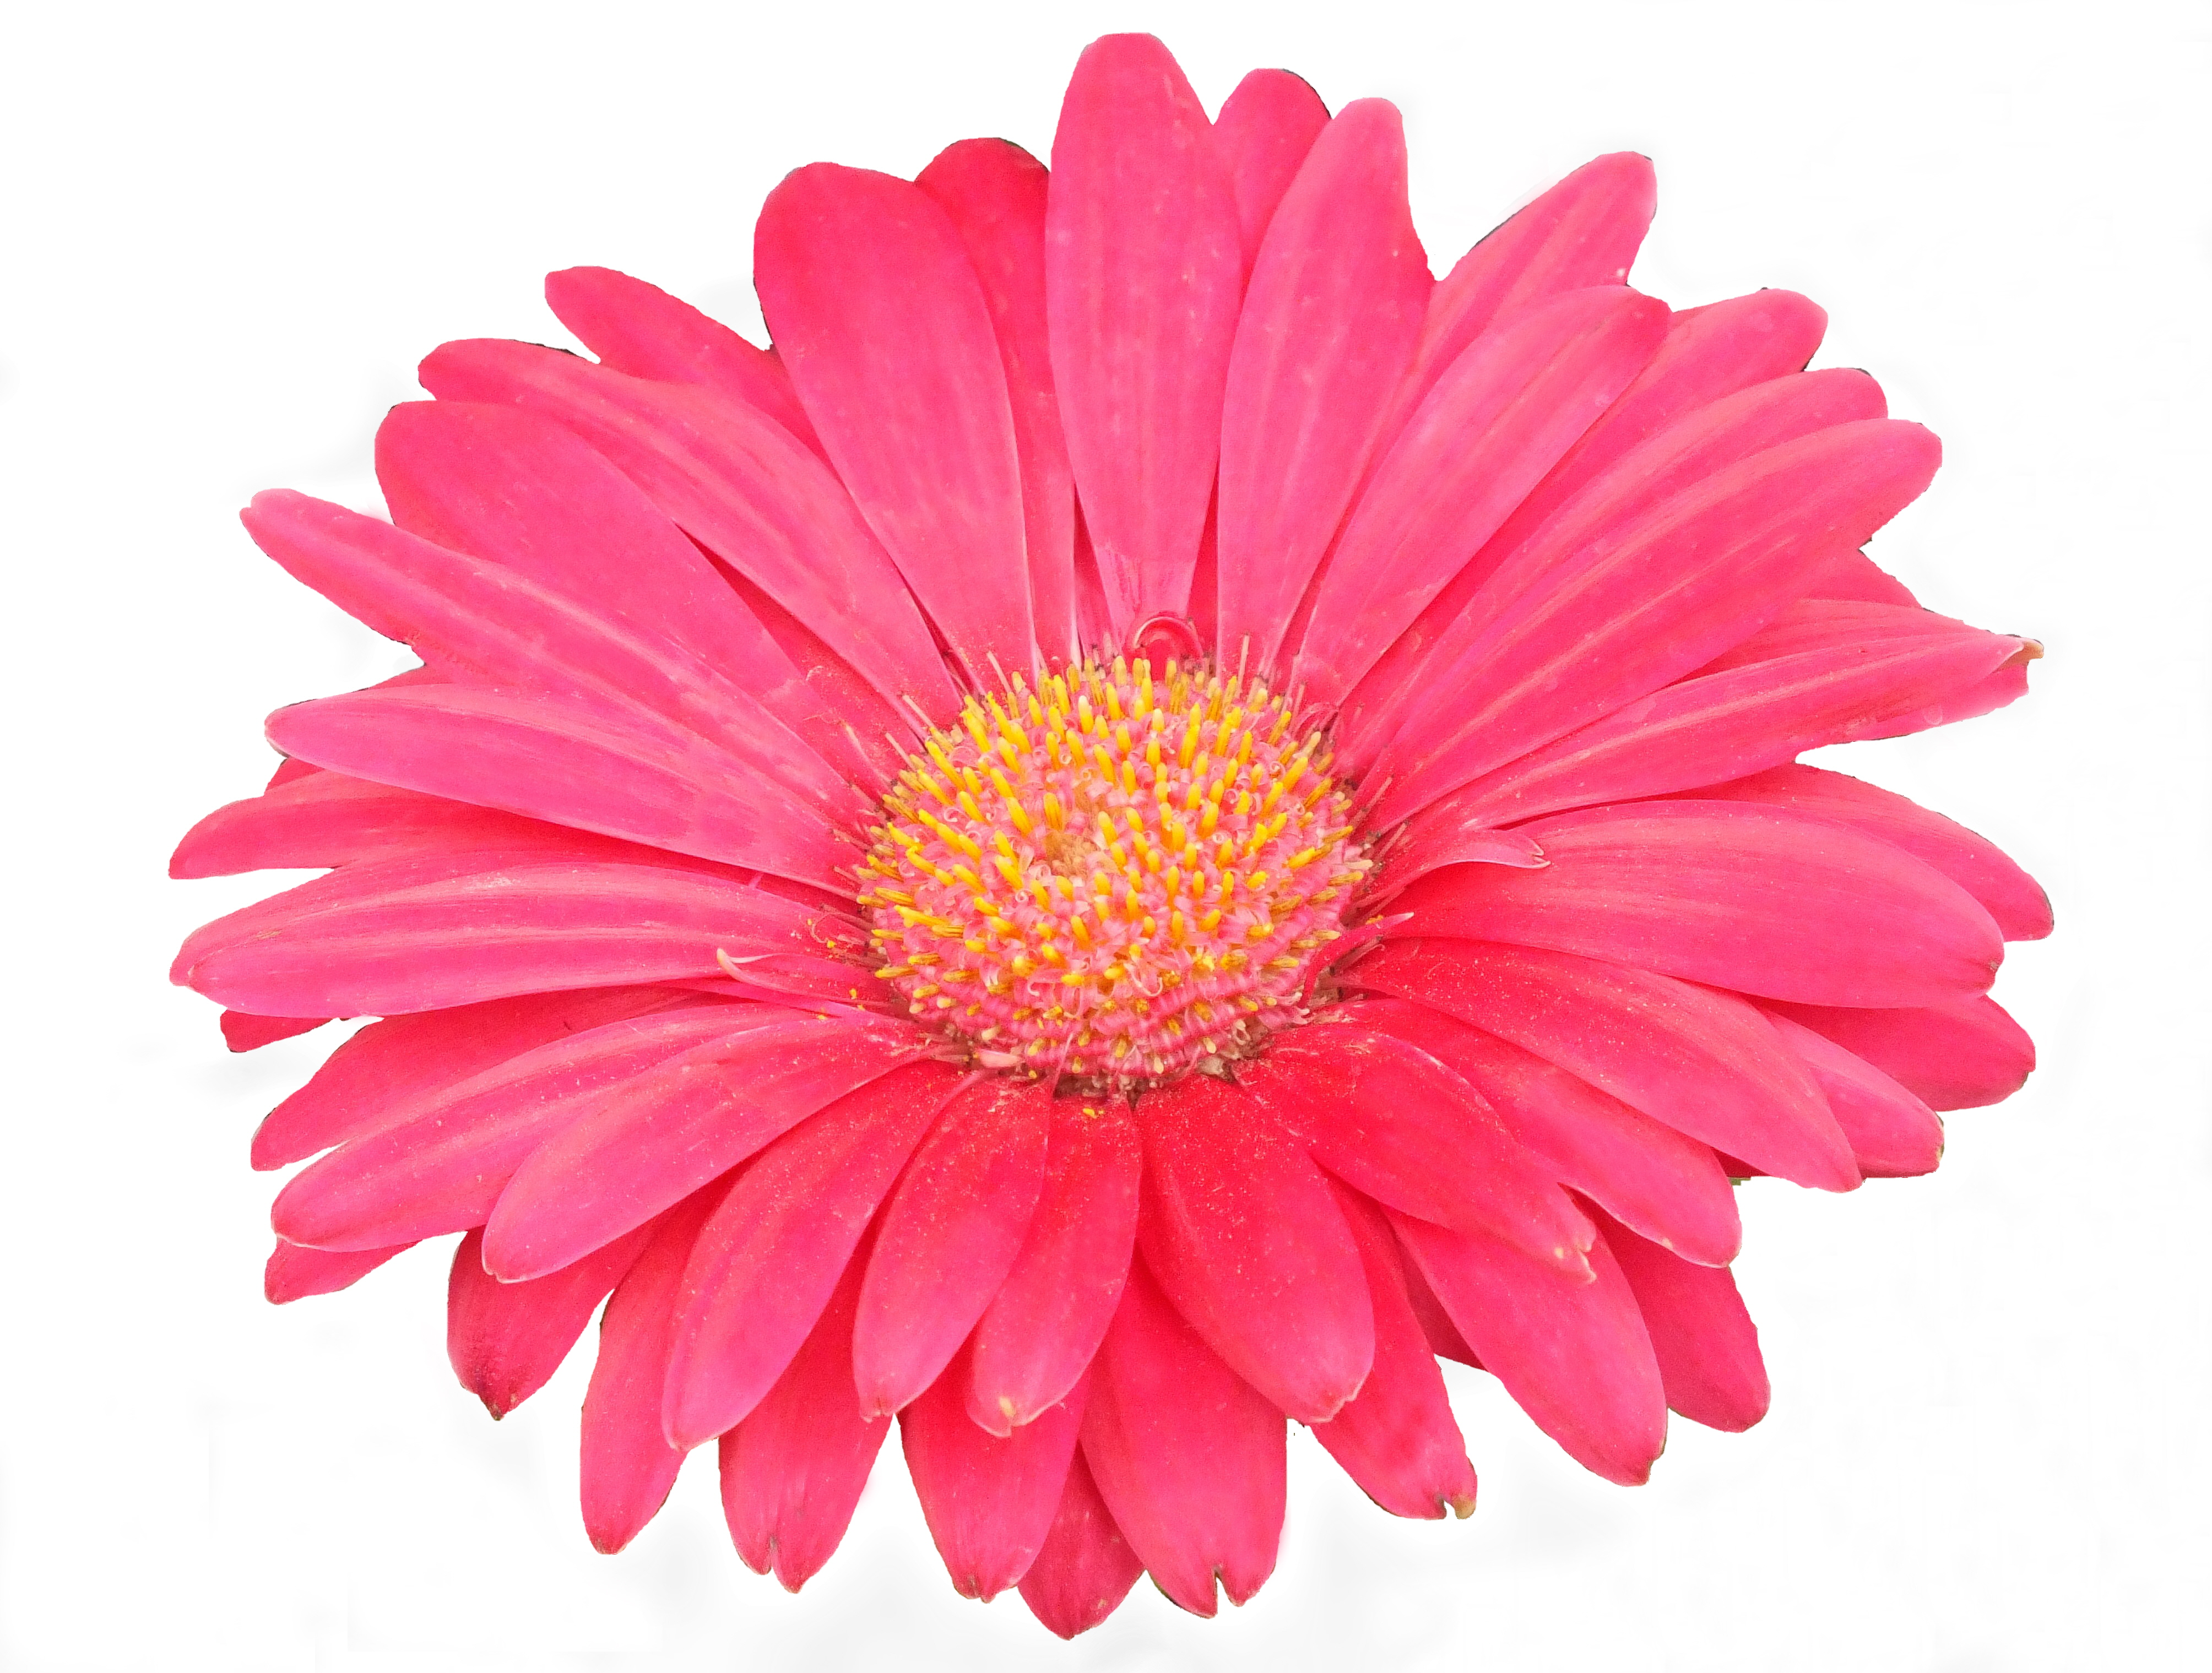
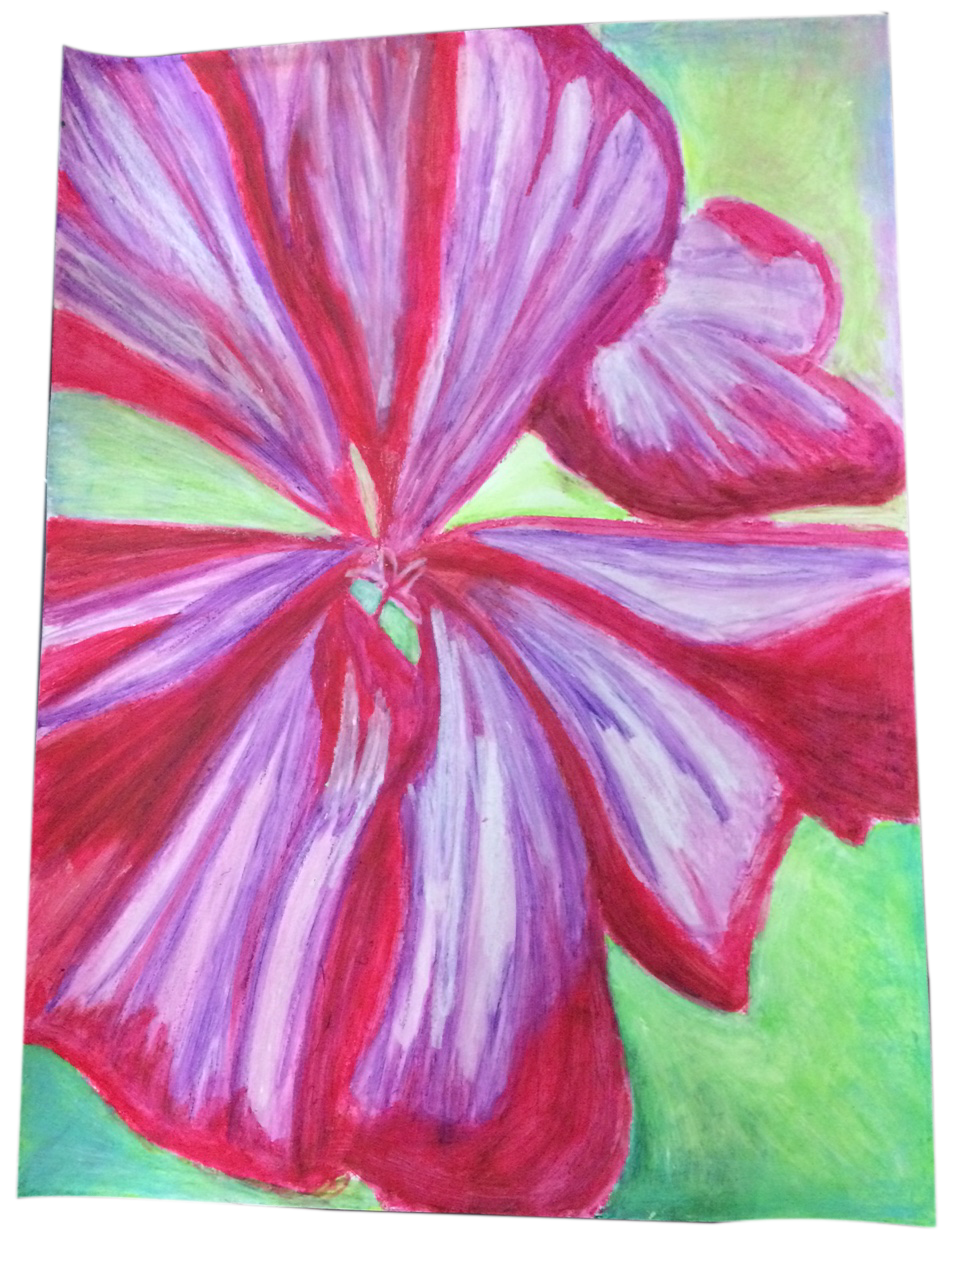
Today we will complete several mini lessons that will prepare us for Part 2 of our Georgia O’Keeffe Unit – Abstract Oil Pastel Drawings. Here is an example of the final project:
oil_pastel_exemplar

Georgia O’Keeffe

Georgia O’Keeffe is an American artist best known for her paintings of enlarged flowers, New York skyscrapers, and New Mexico landscapes. O’Keeffe has been recognized as the “Mother of American modernism”.

O’Keeffe appeared on the New York art scene in 1916, when her work was displayed at the gallery 291, owned by her future husband, photographer Alfred Stieglitz. Shortly thereafer, she moved to New York and befriended many early American modernists. These artists, in particular Stieglitz and photographer Paul Strand, inspired O’Keeffe’s work. By the mid-1920s, O’Keeffe began making large-scale paintings of natural forms at close range, as if seen through a magnifying lens. O’Keeffe turned to working more representationally in the 1920s in an effort to move her critics away from Freudian interpretations. Learn more about Georgia O’Keeffe at The Georgia O’Keeffe Museum and The Whitney.

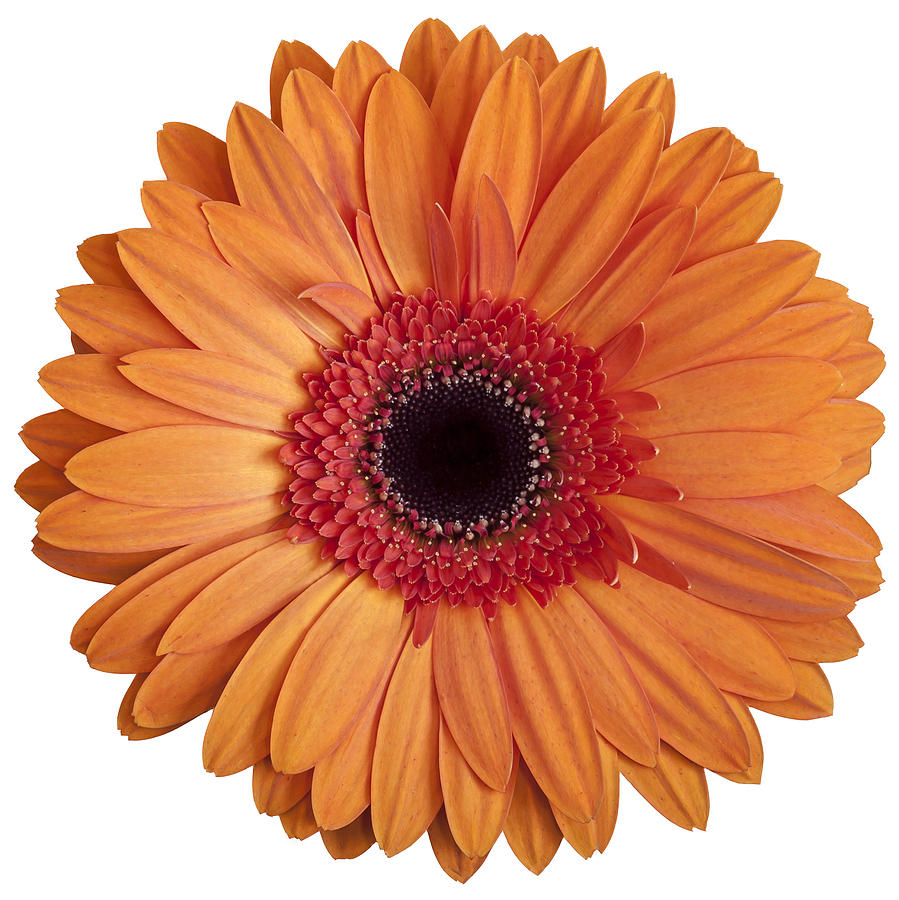
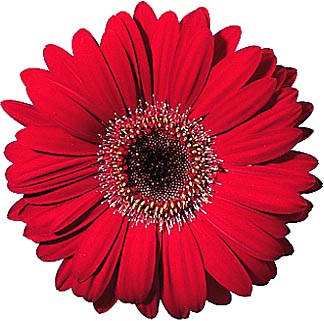
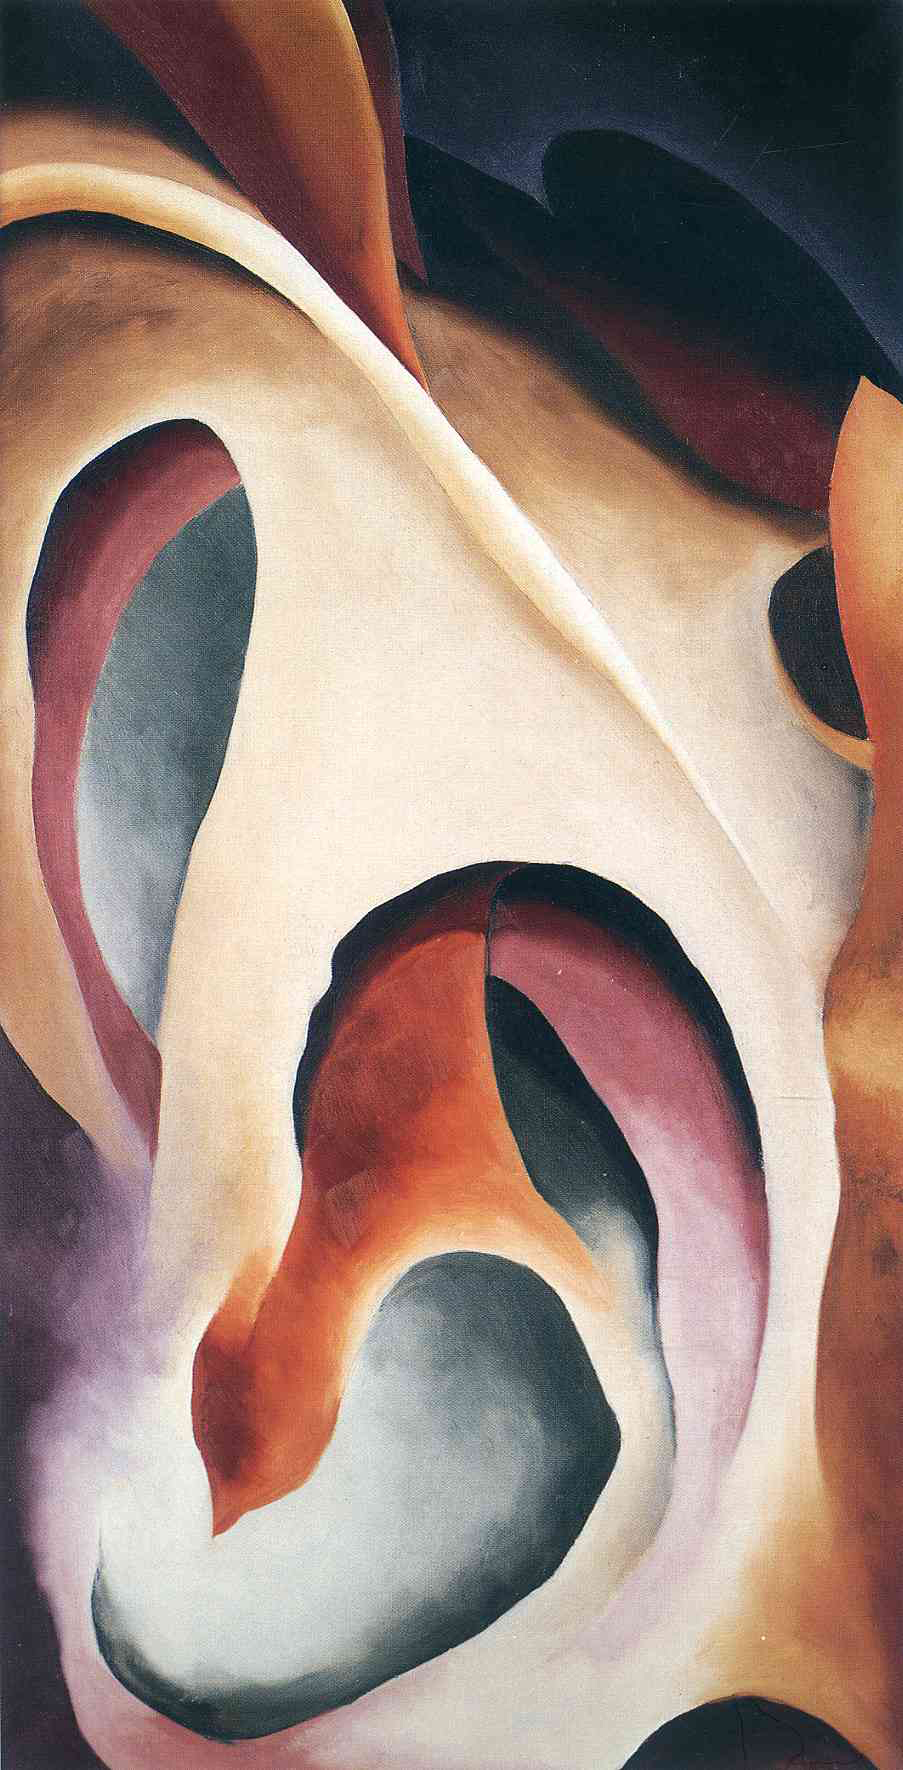
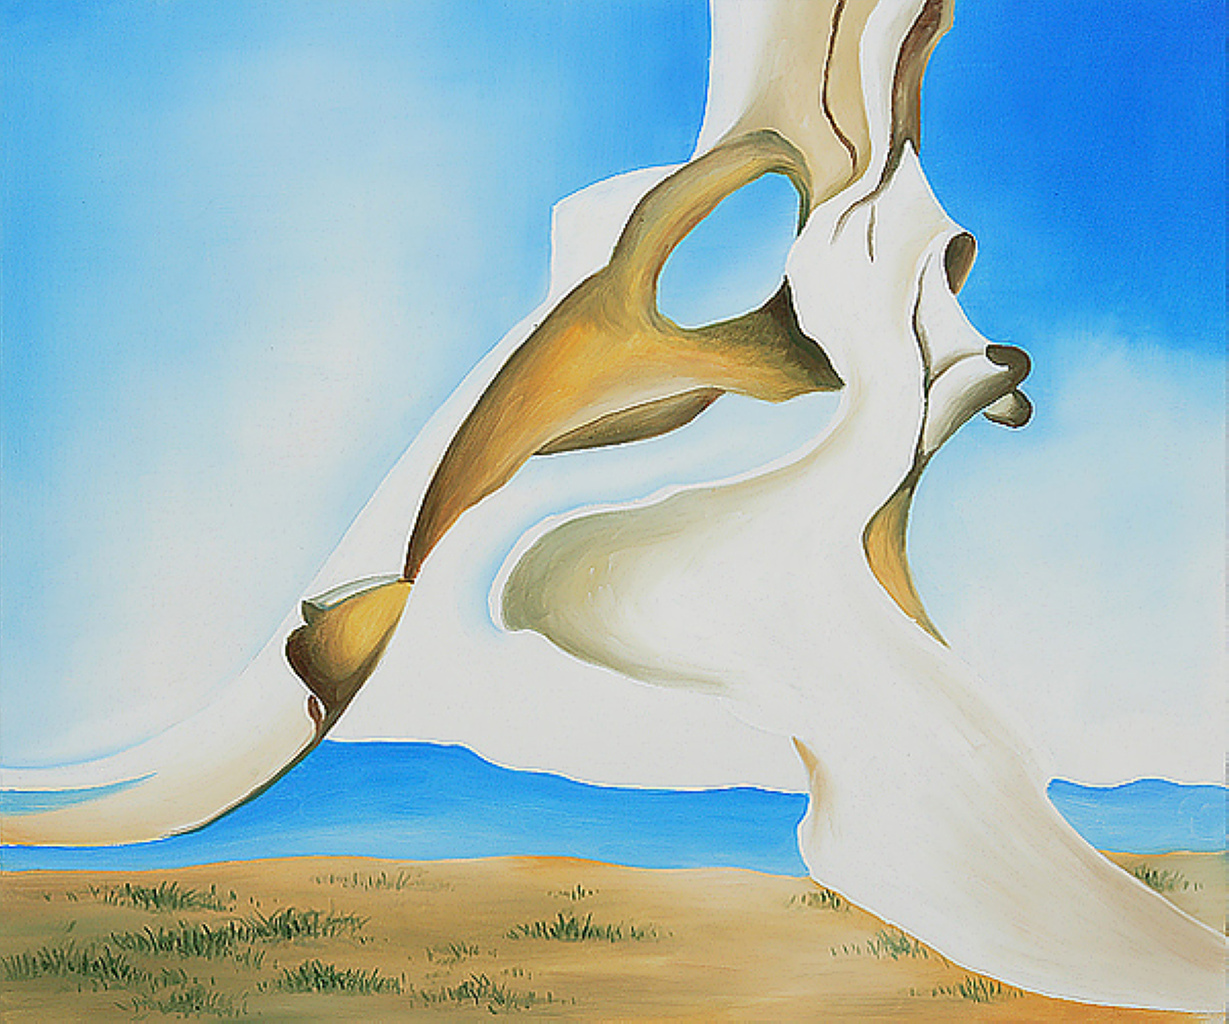
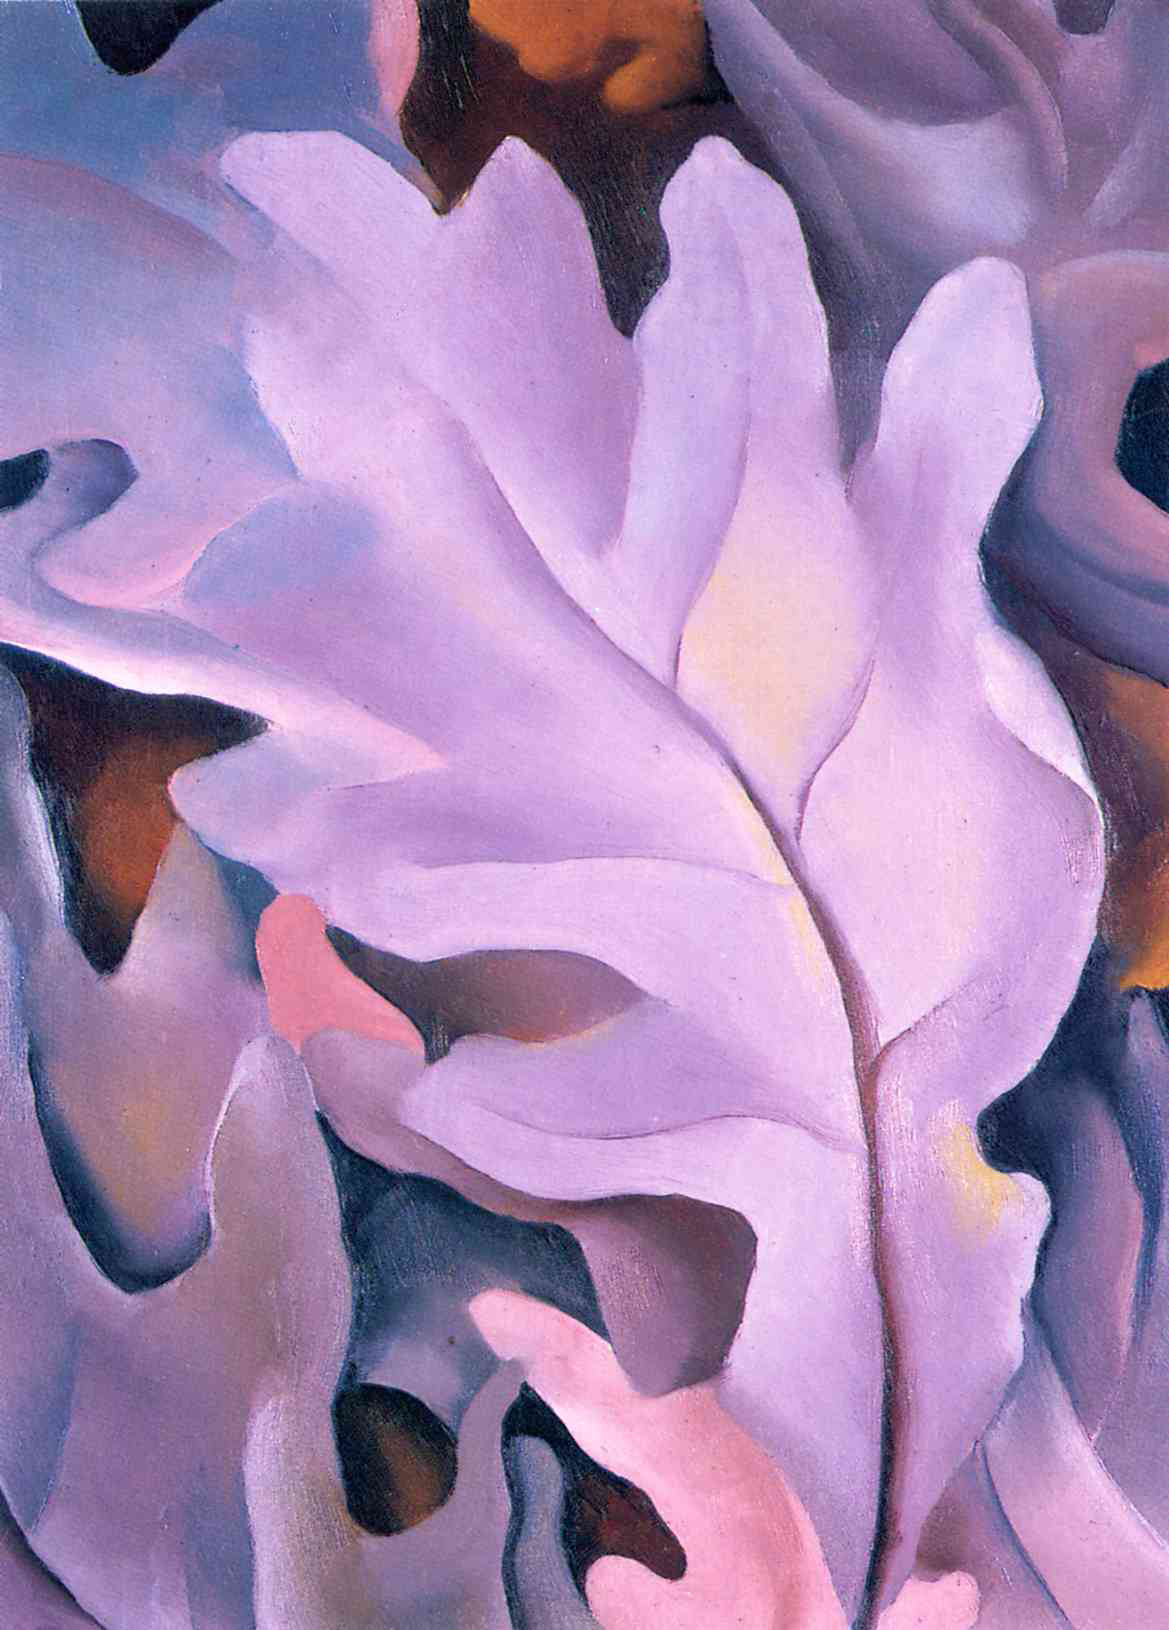
Here are some examples of Georgia O’Keeffe’s paintings:
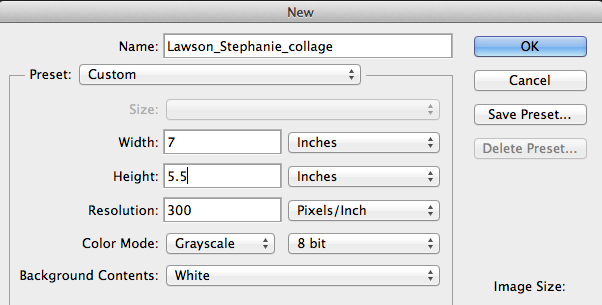
fig5_lg

leaf-motif-2

abstraction-white-rose

pelvis-with-the-distance-1943

series-ie28094no-3-1918

SC119131

purple-leaves

Today we will:

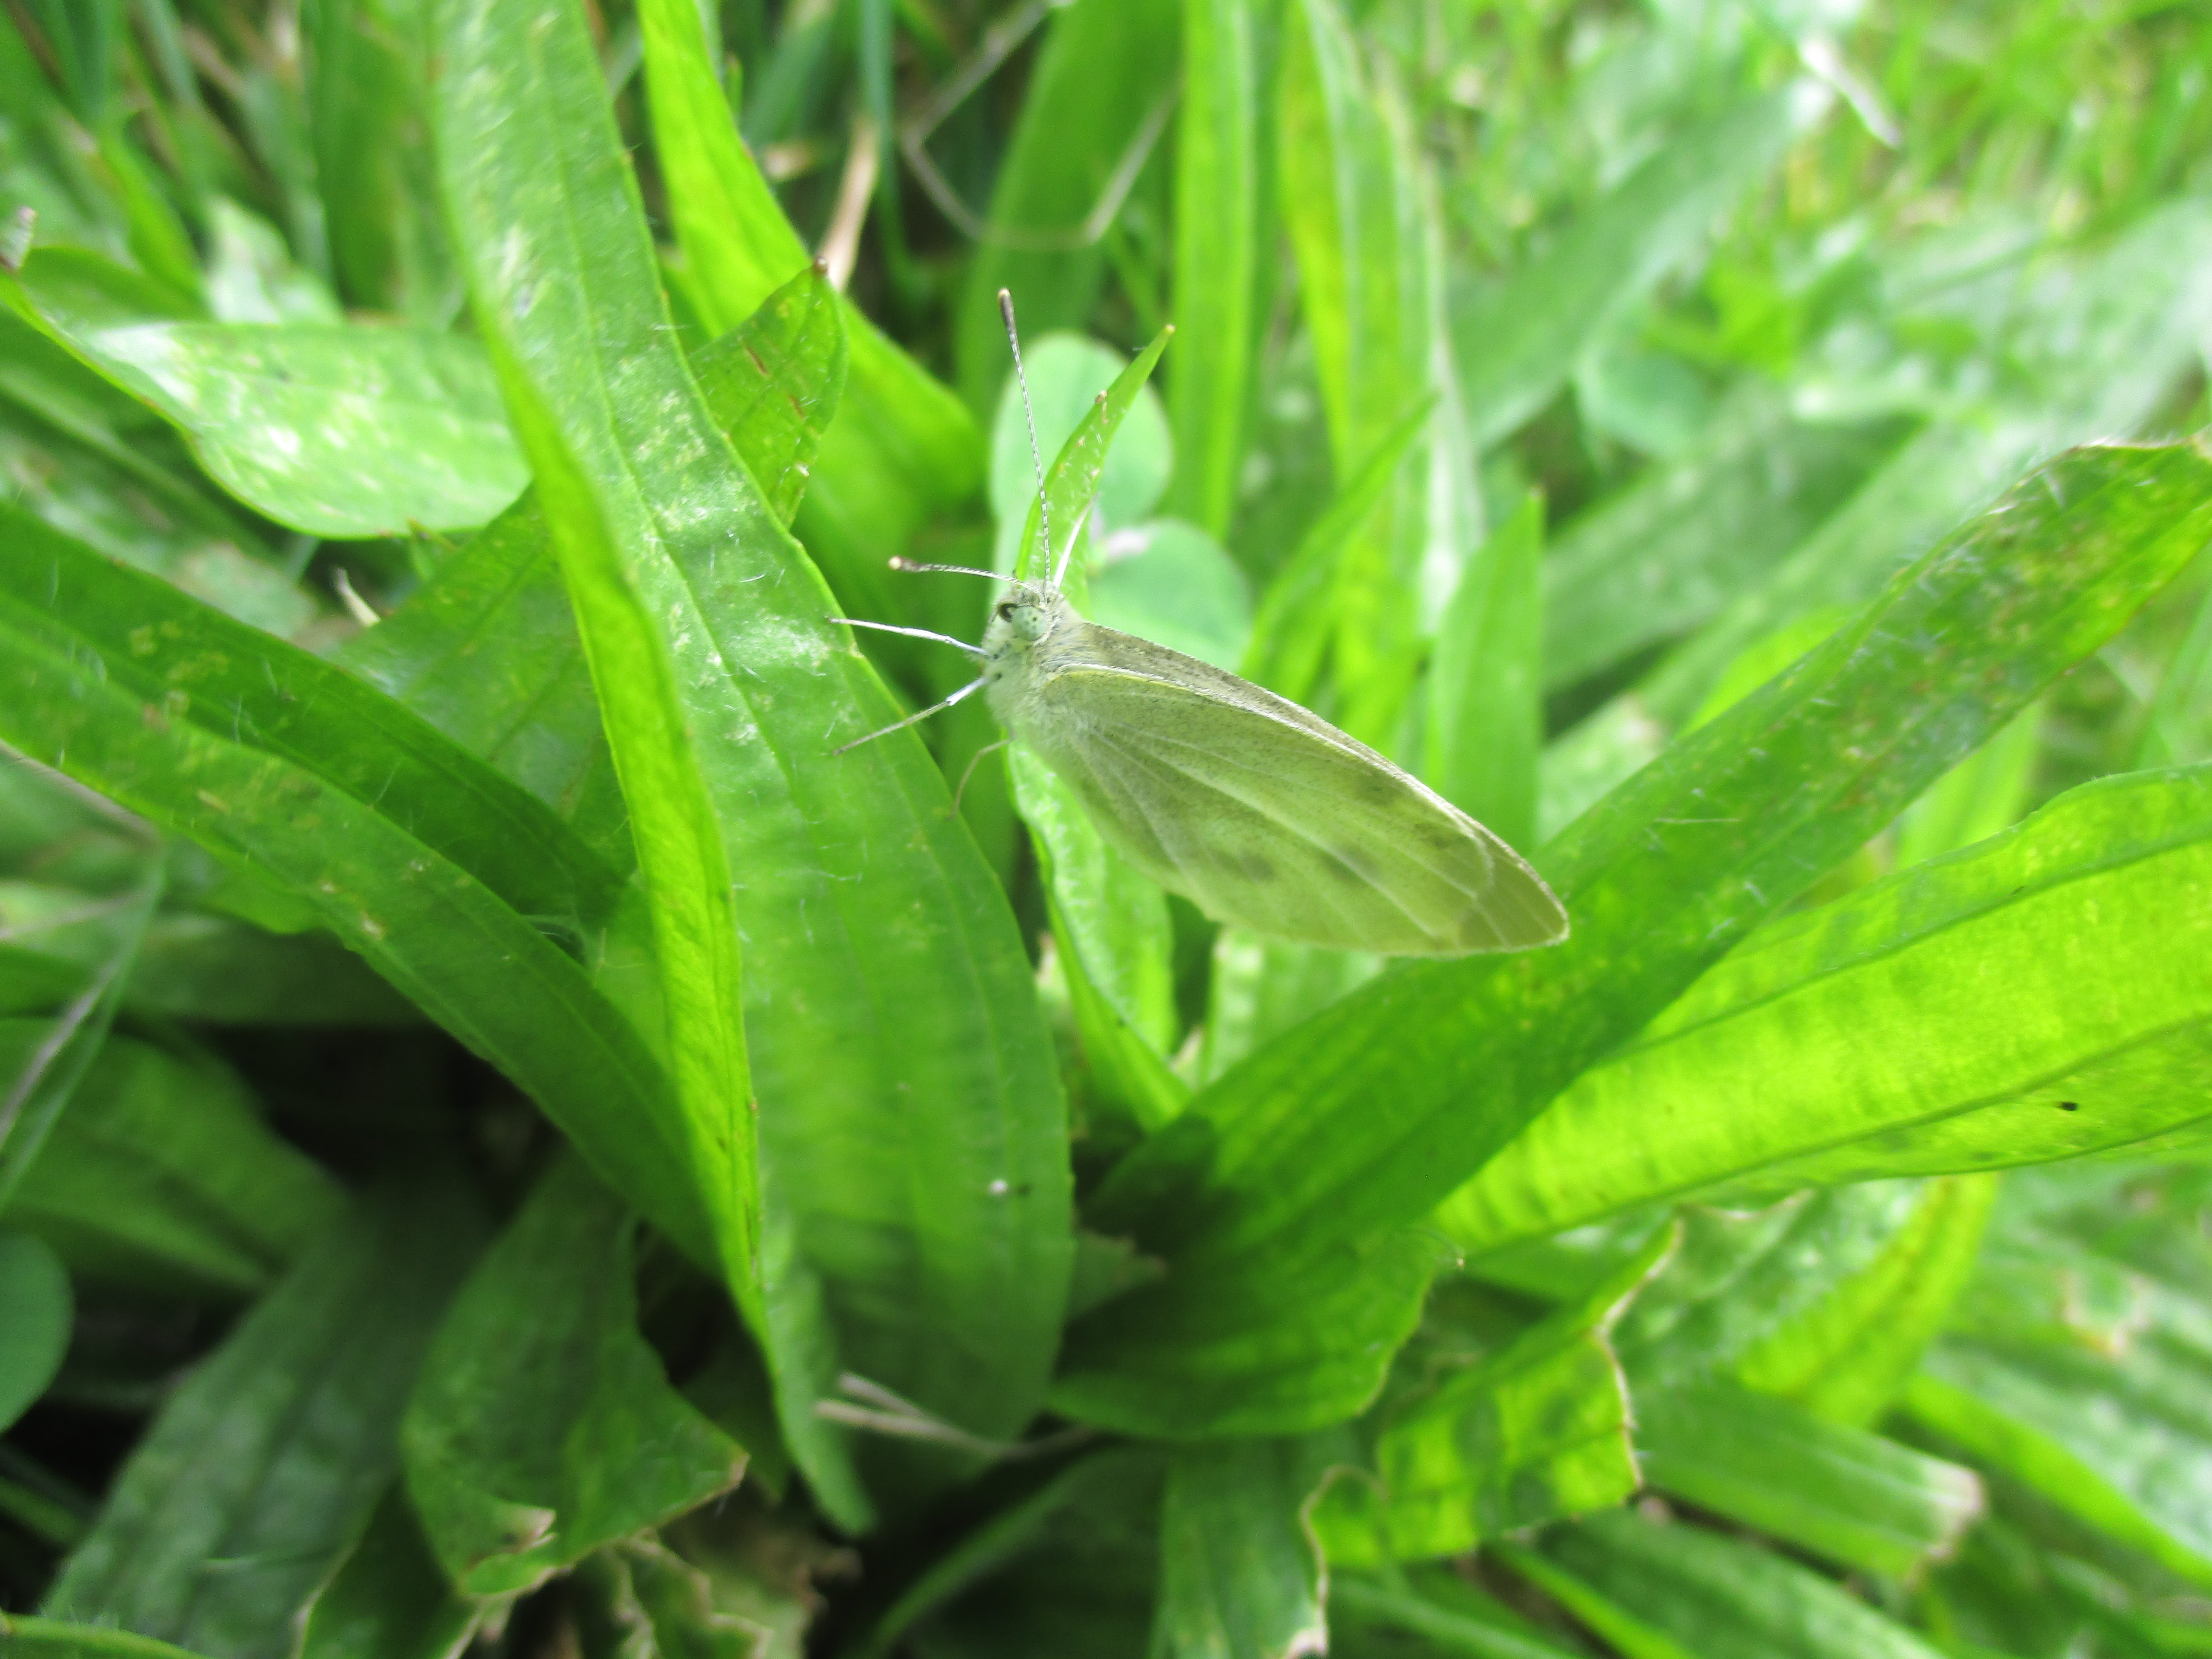
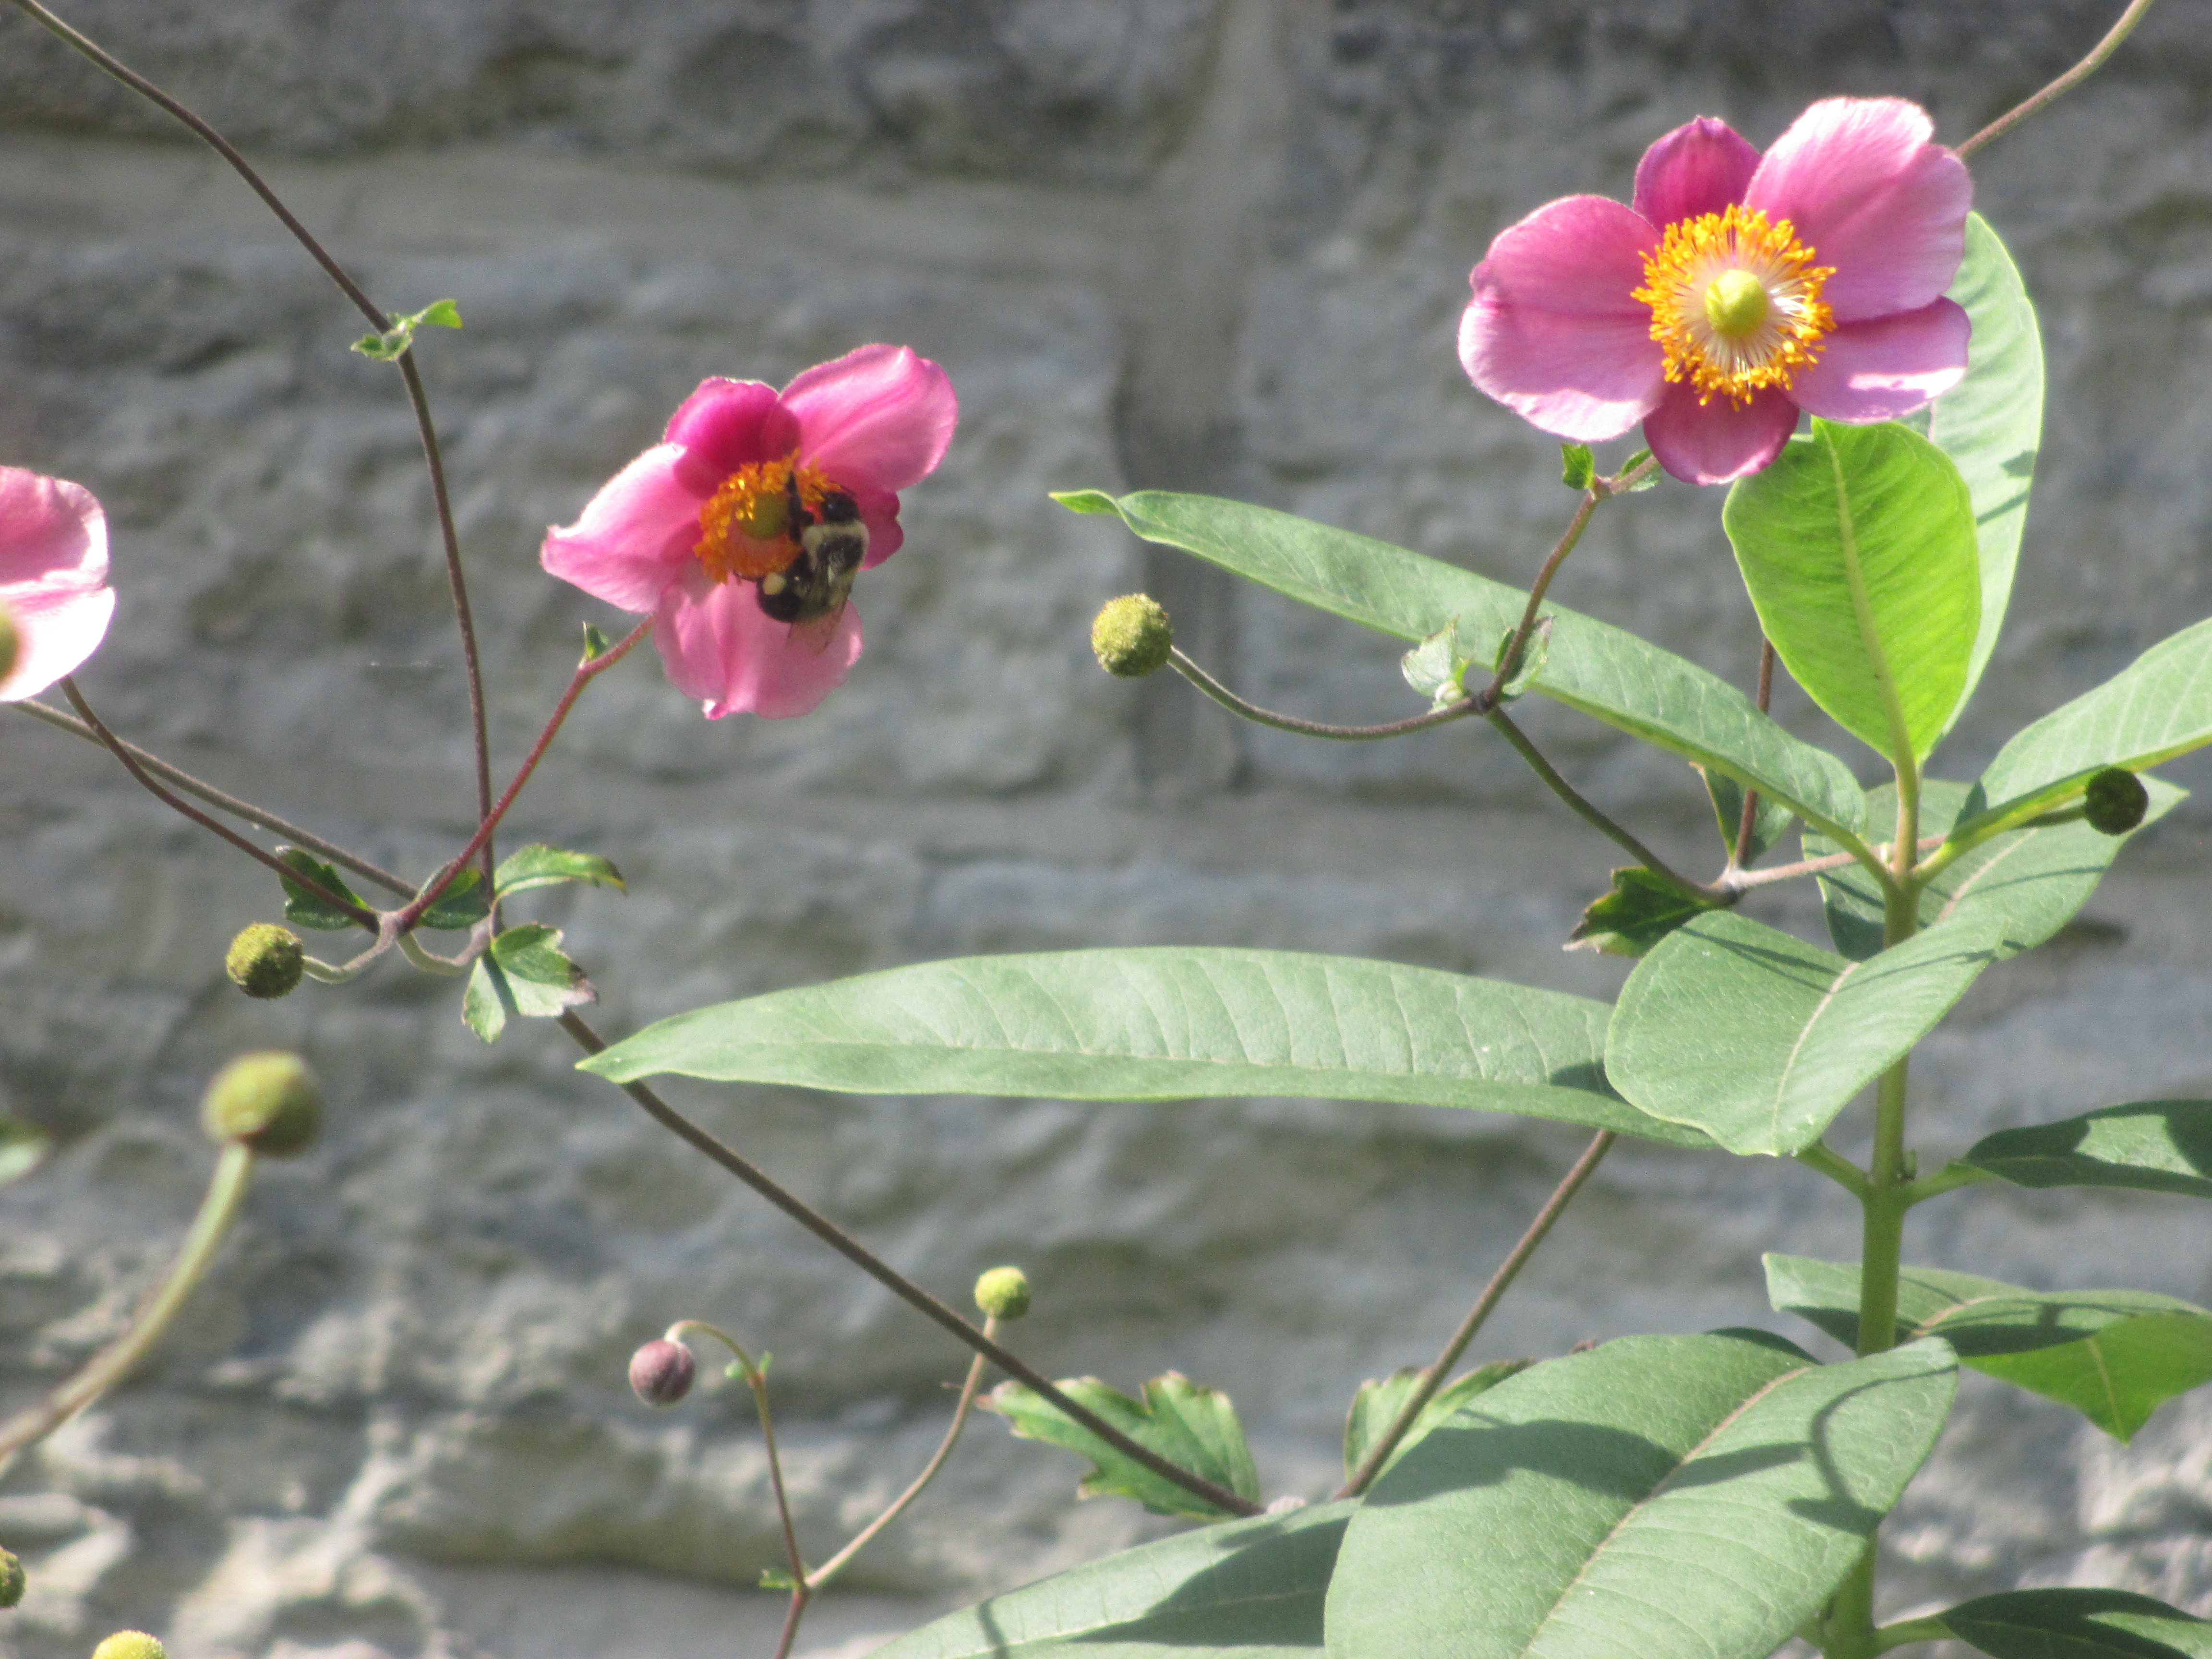
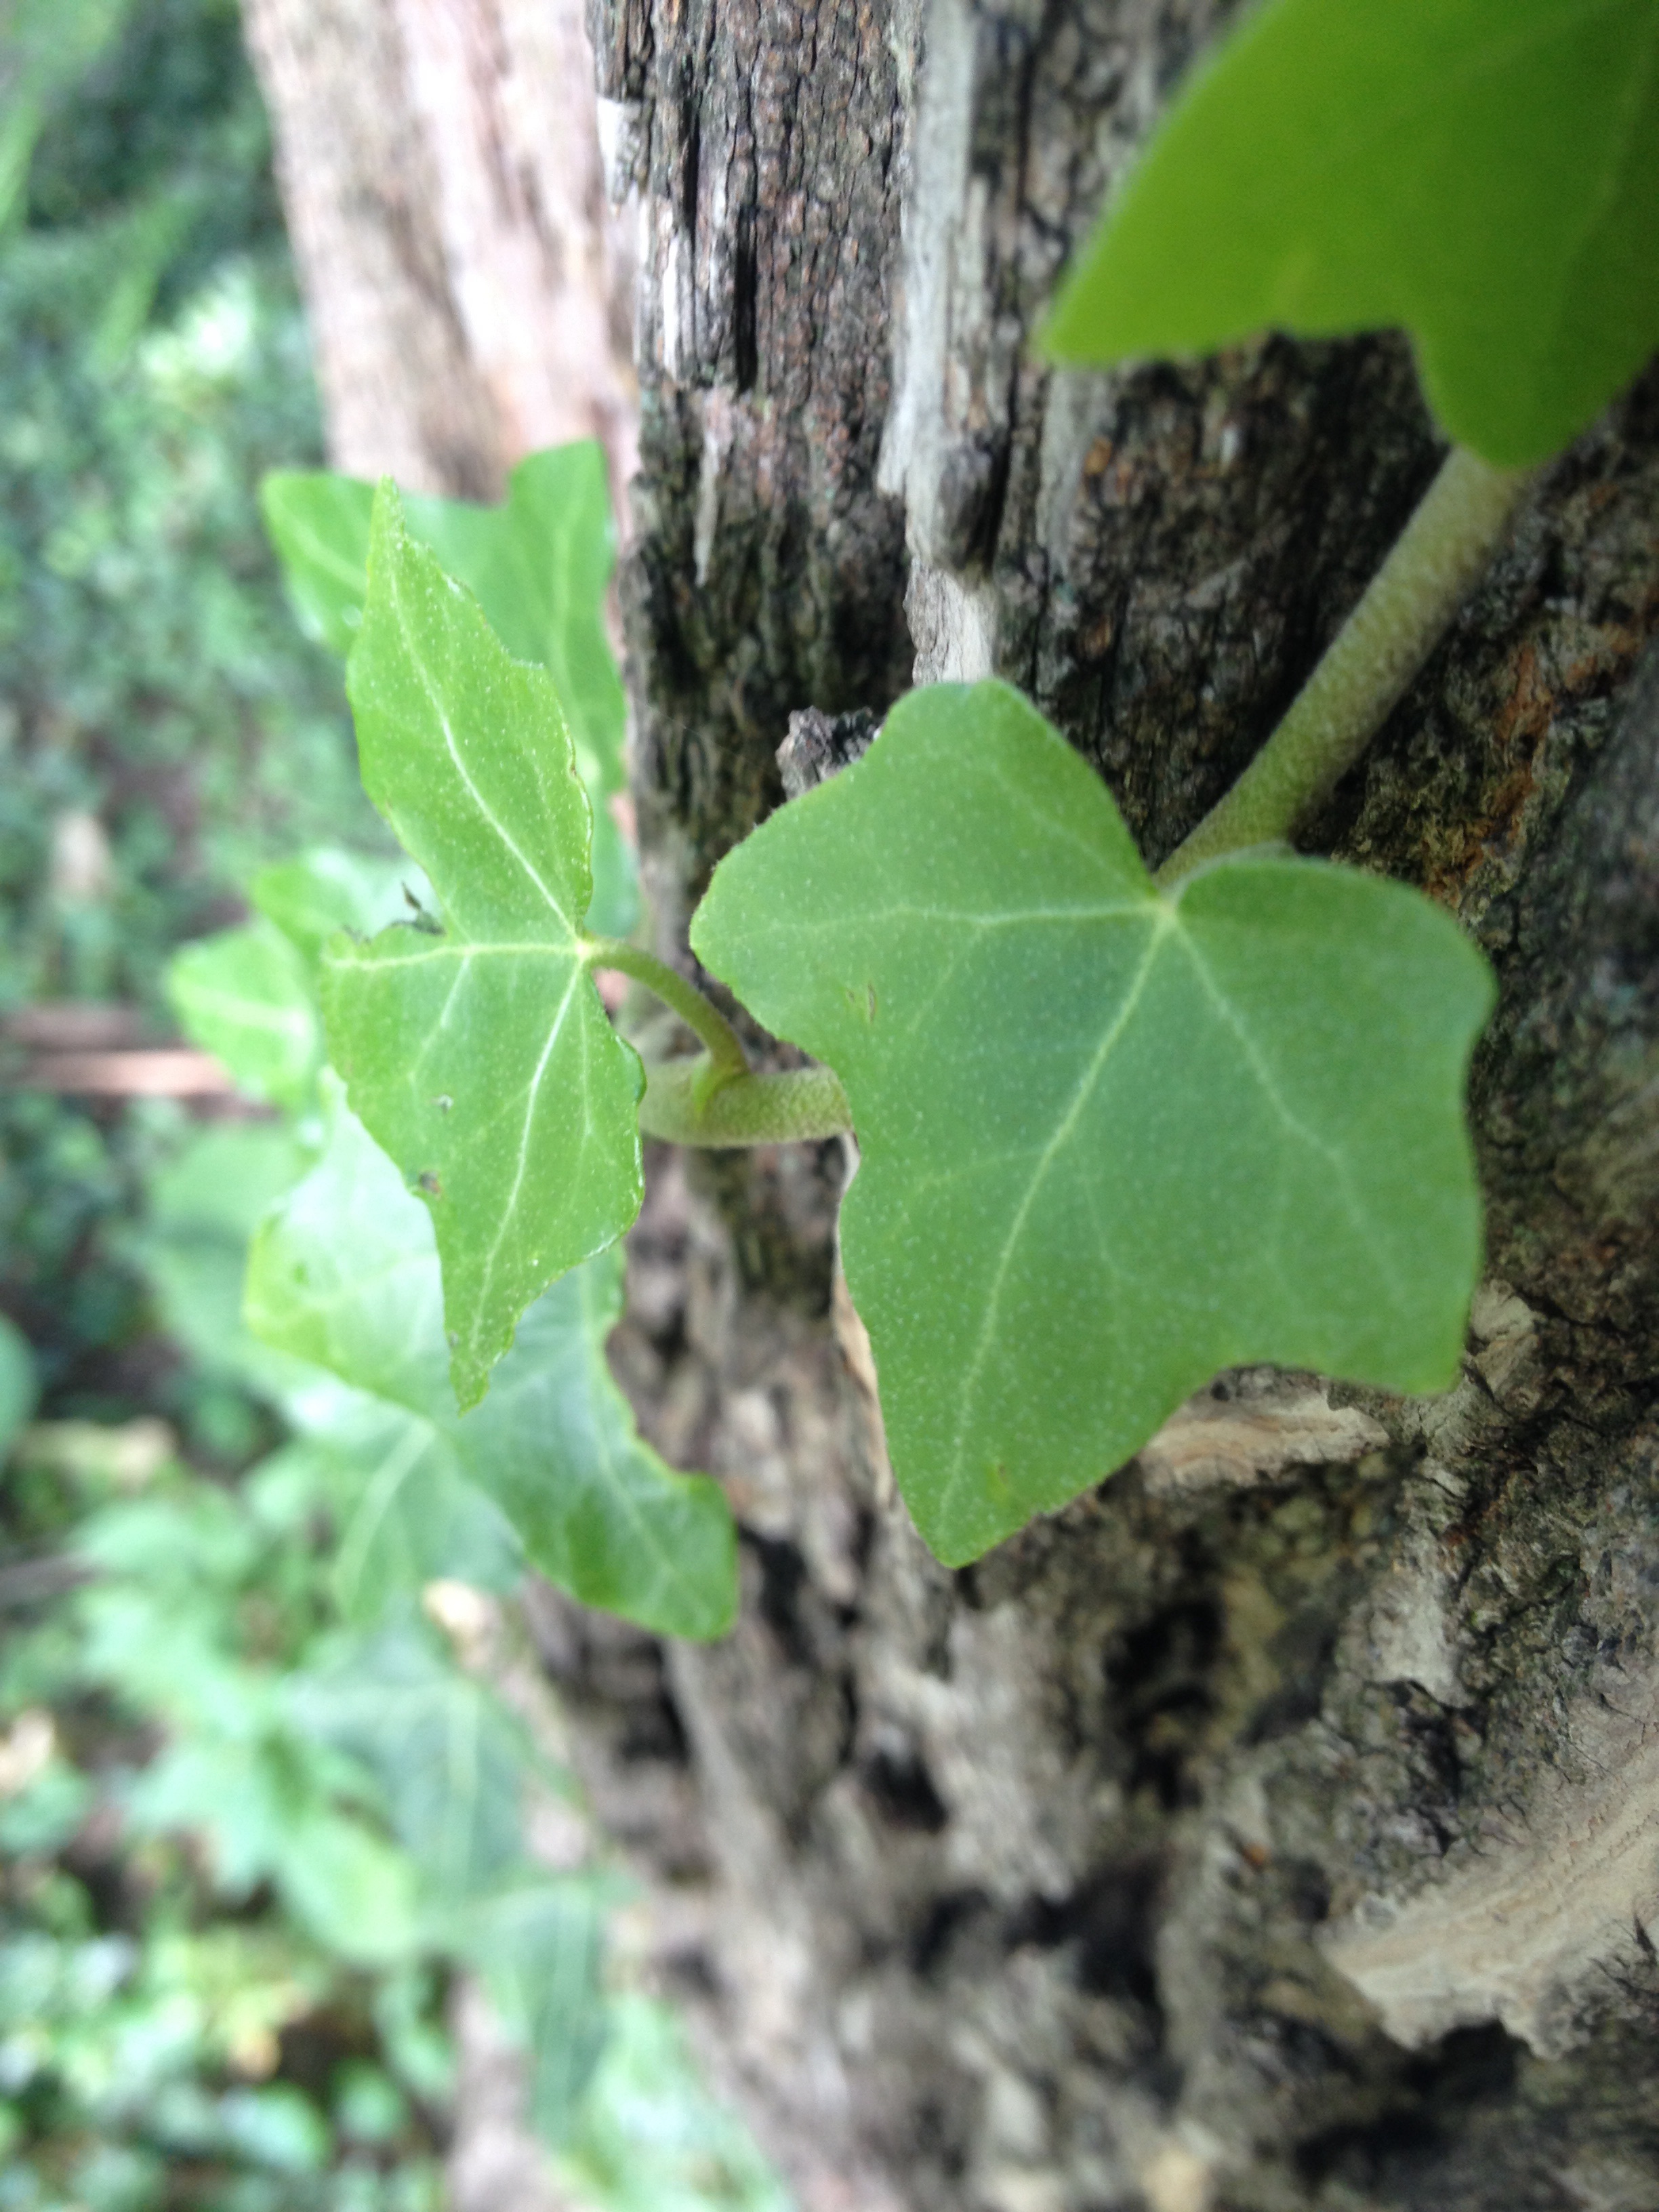
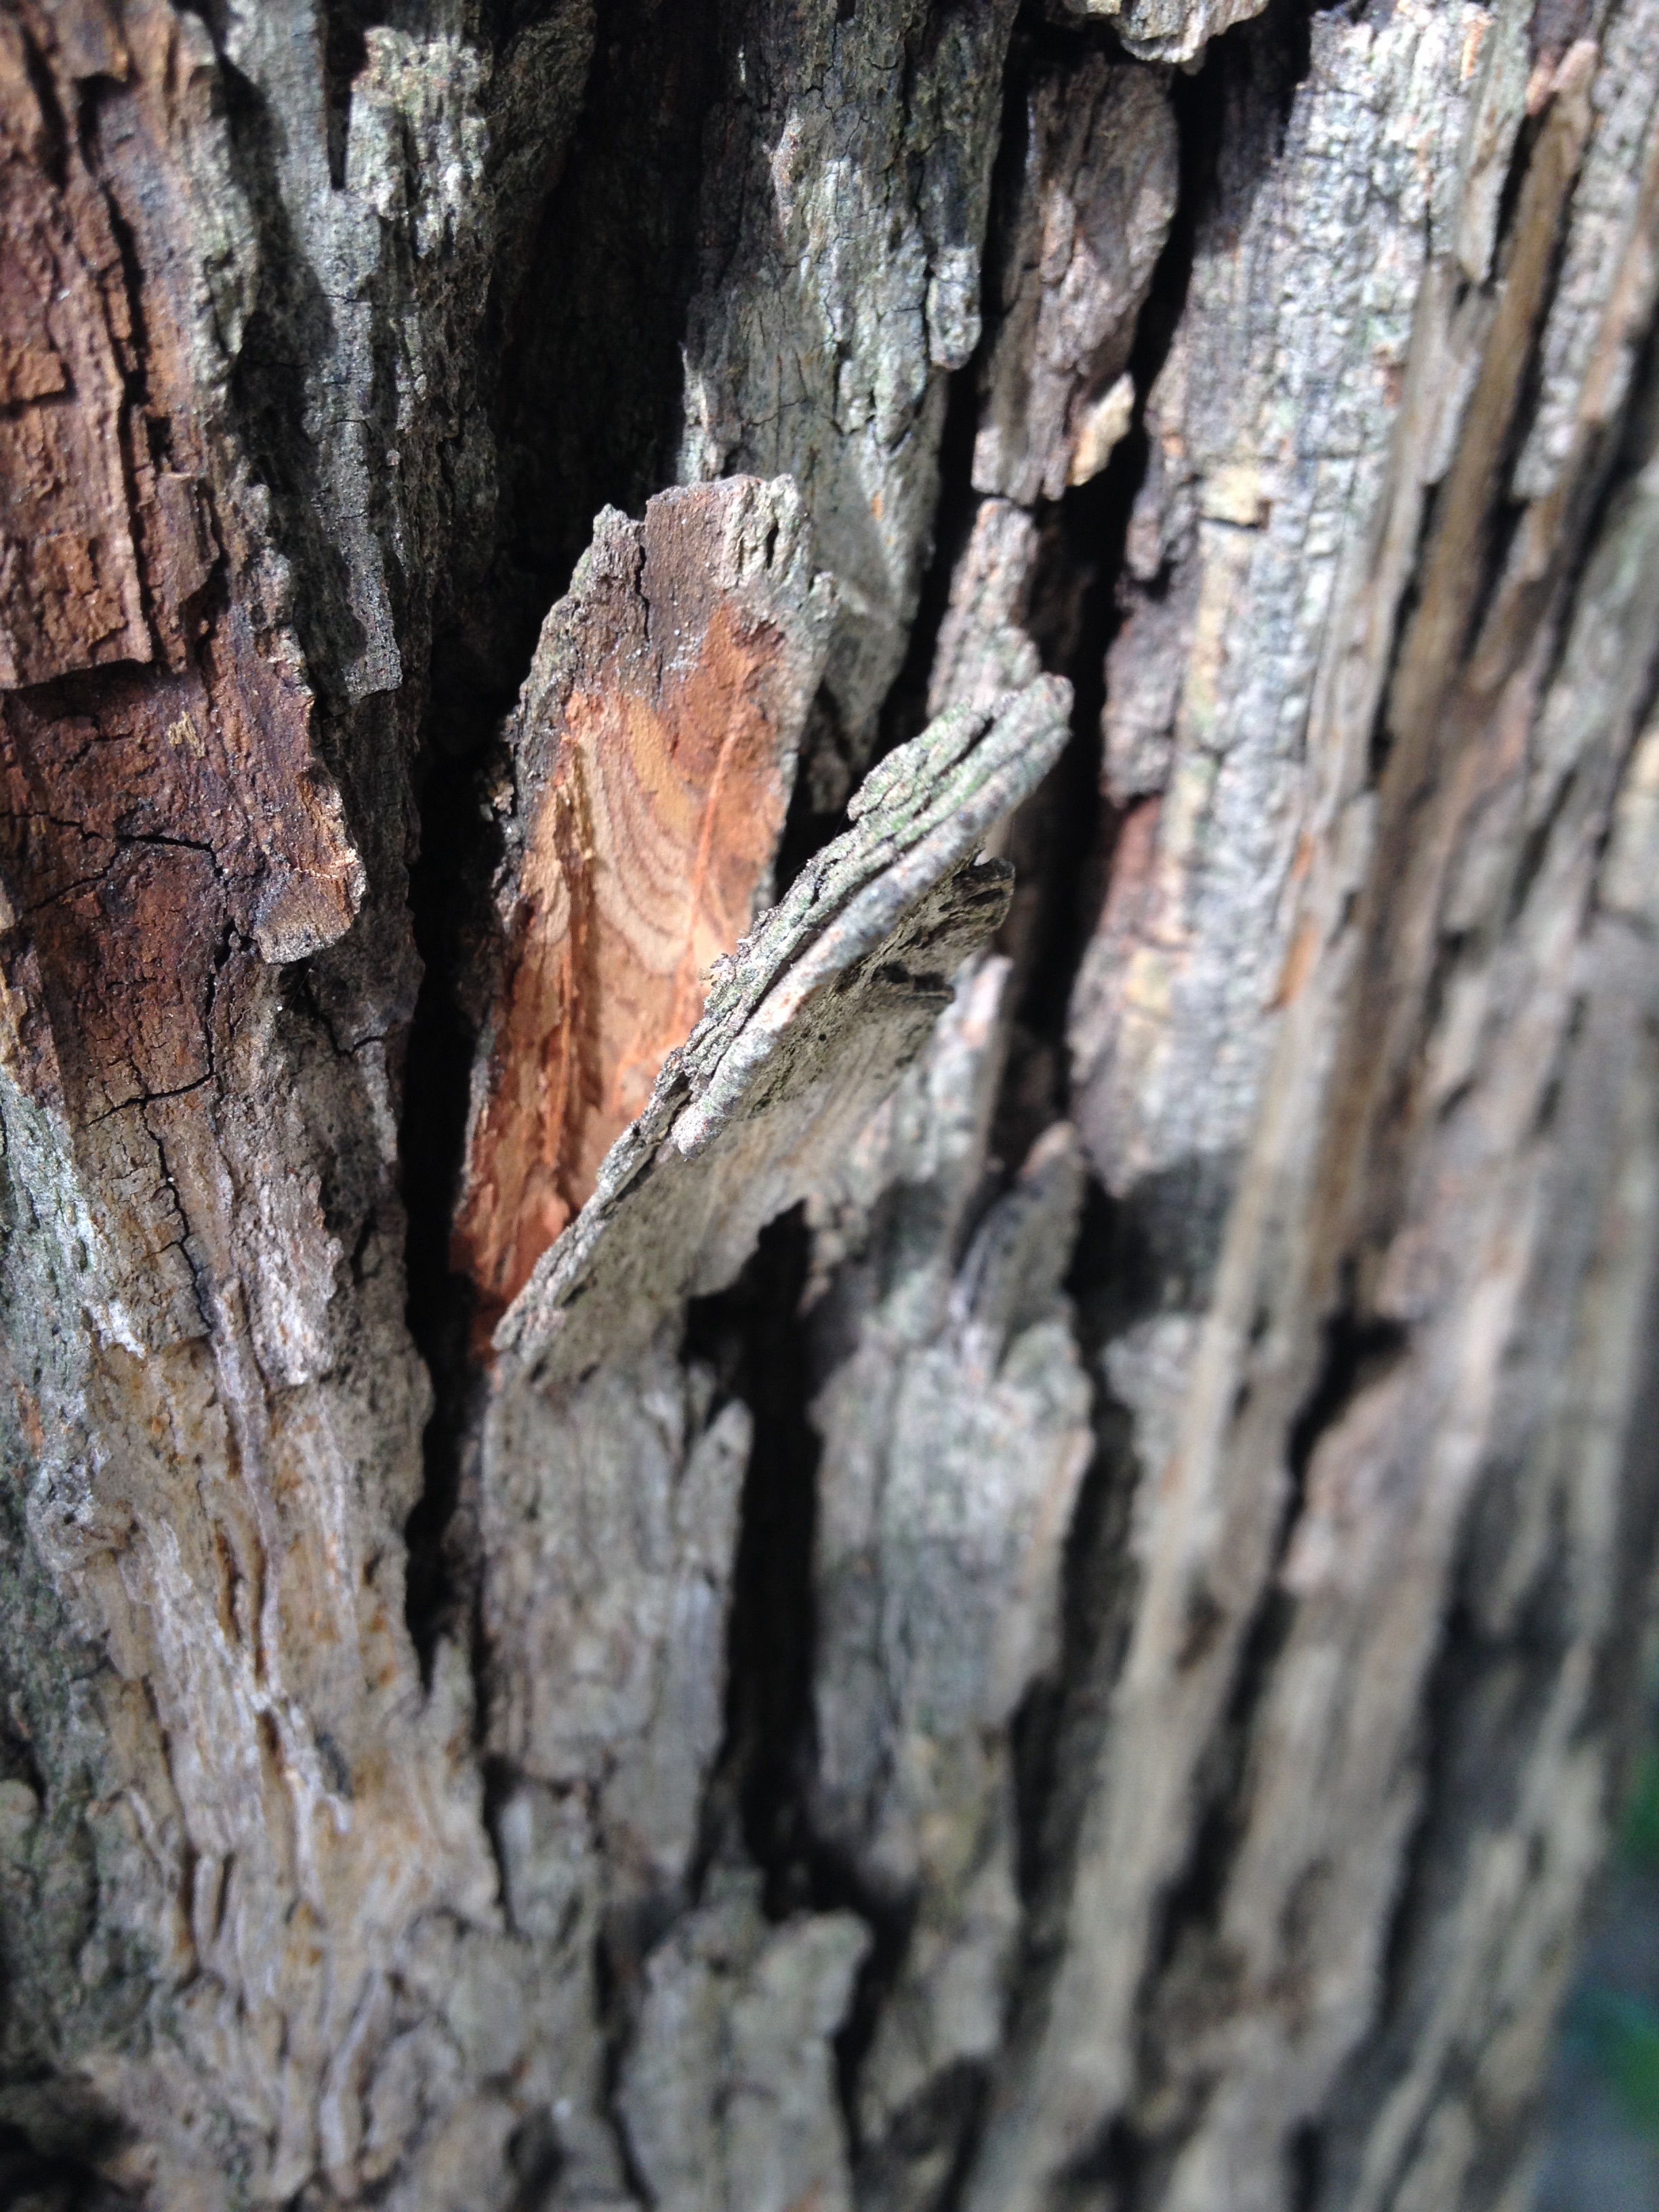
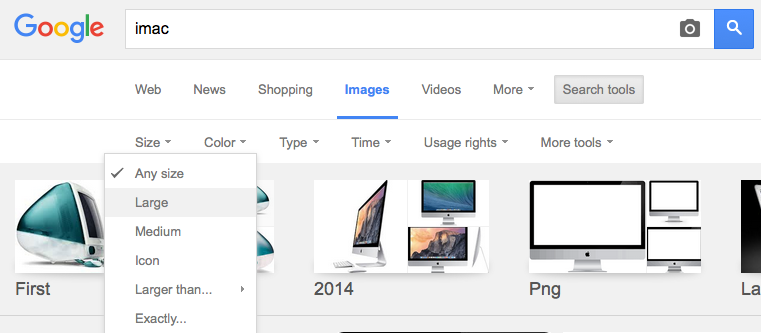
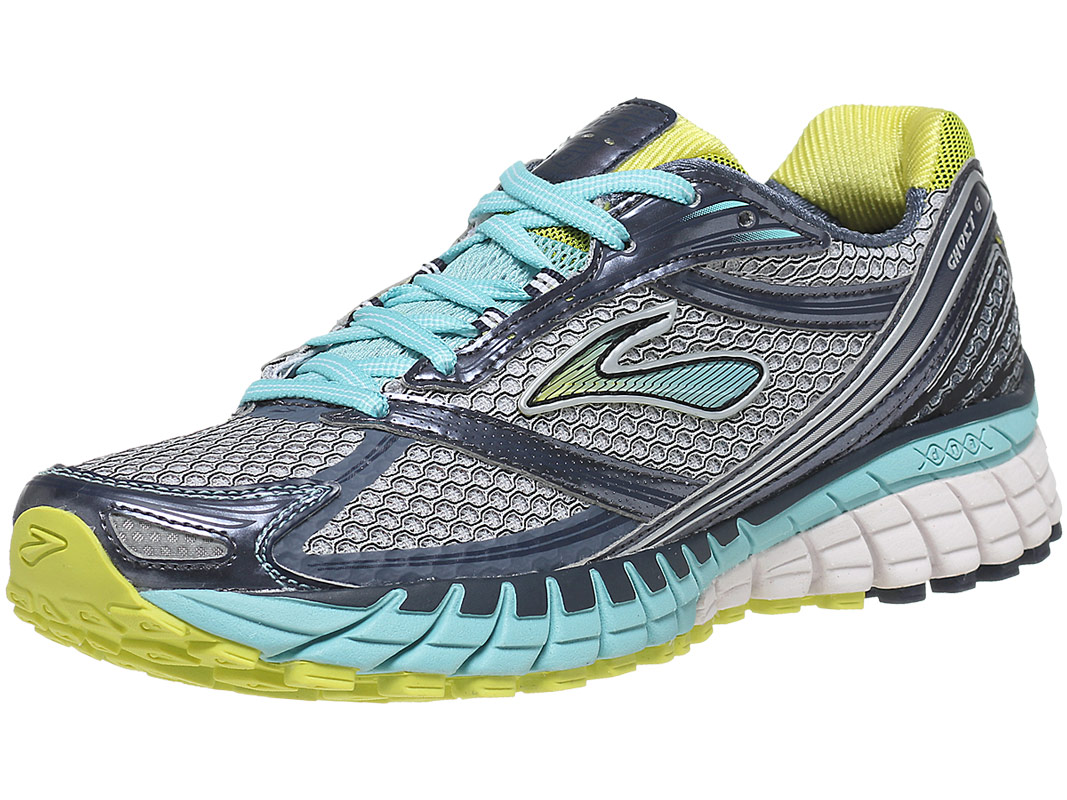
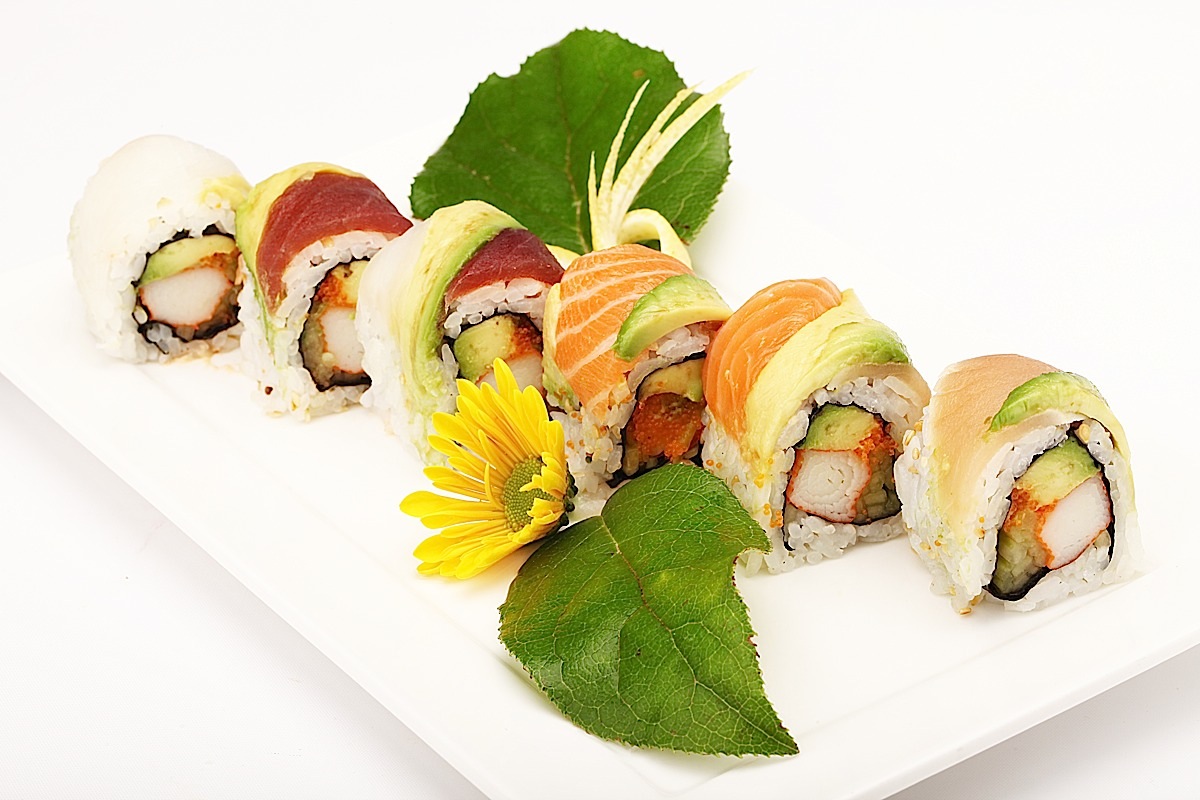
  • Post our favorite 3-5 photos to our class blogs, noting which ones you think would make the best oil pastel drawing
  • Complete at least 5 oil pastel practice pieces on small posterboard.
    oil_pastel_practice
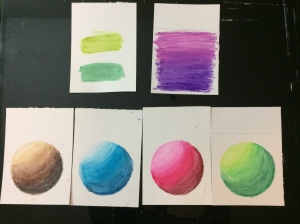
    Use this opportunity to practice colors and details you will actually use in your drawing. This will help you determine whether your plan in feasible with our supplies:

    • Gradient blend
    • Detail work (practice drawing the most detailed part of your photograph). If this proves difficult, find a solution for simplifying the details while still keeping the overall look of the piece.
    • 2 examples of layering risky colors (ie. I learned that a bit of red mixed into green makes the green look more realistic)
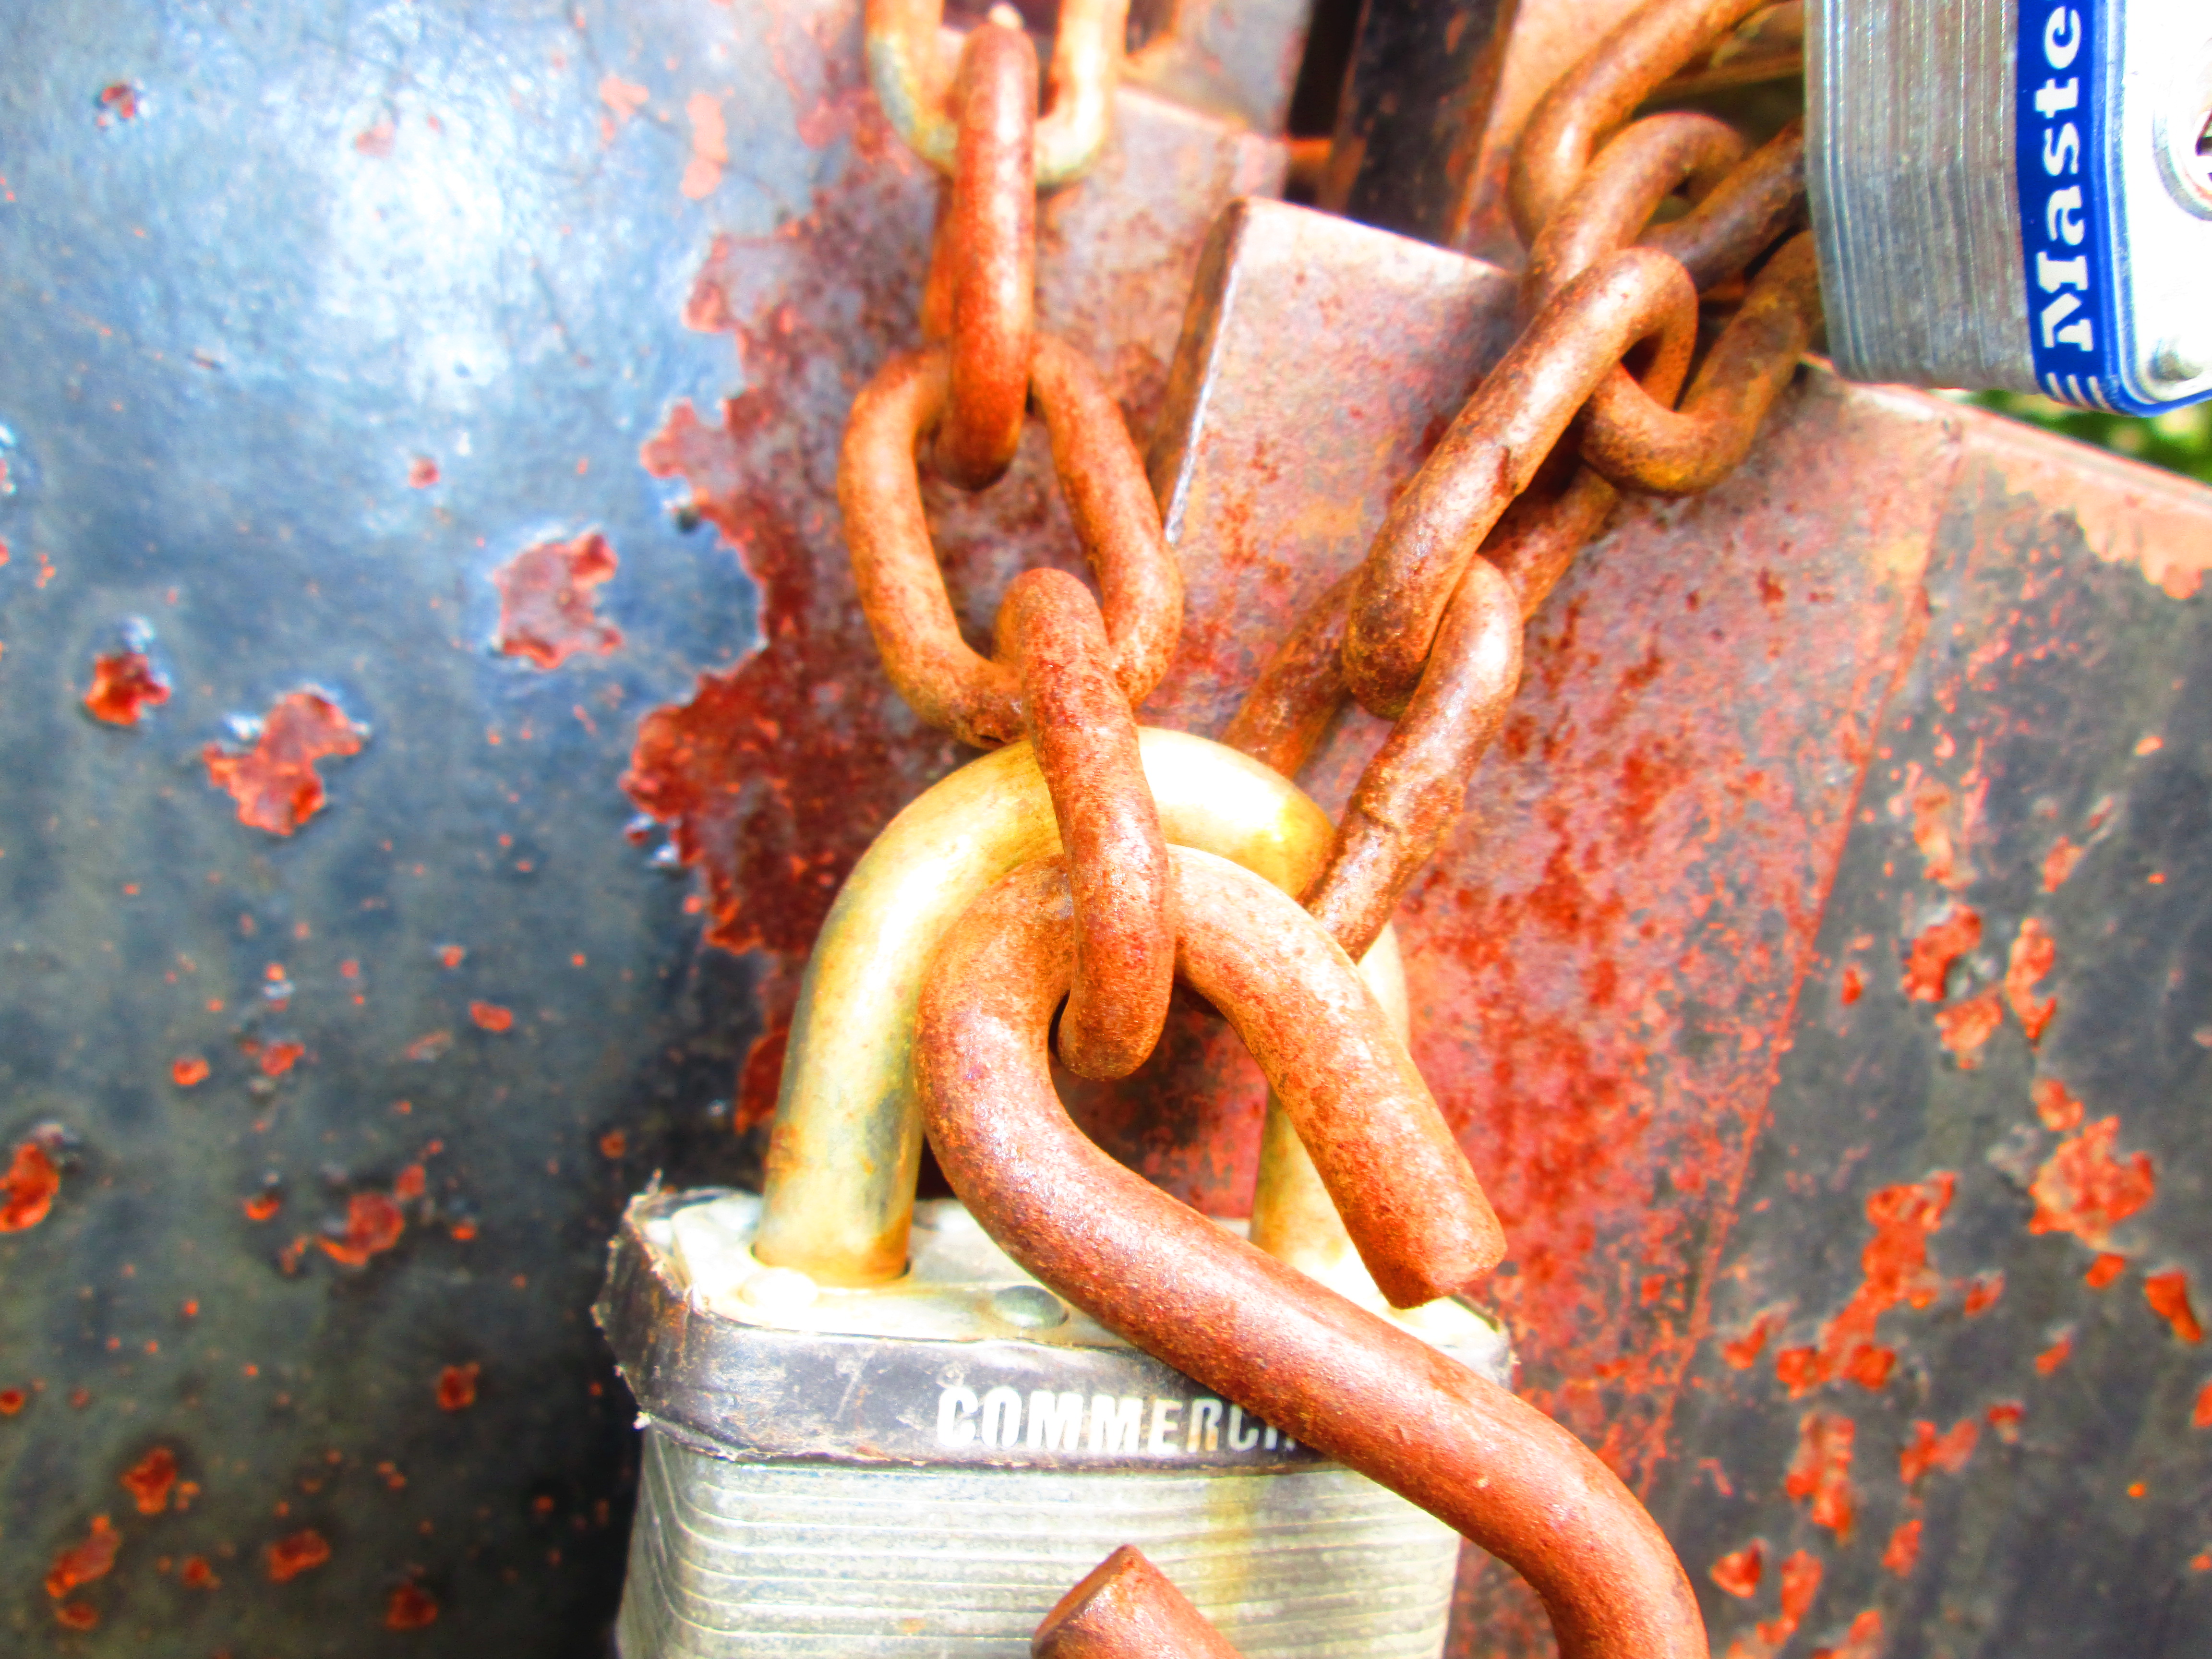
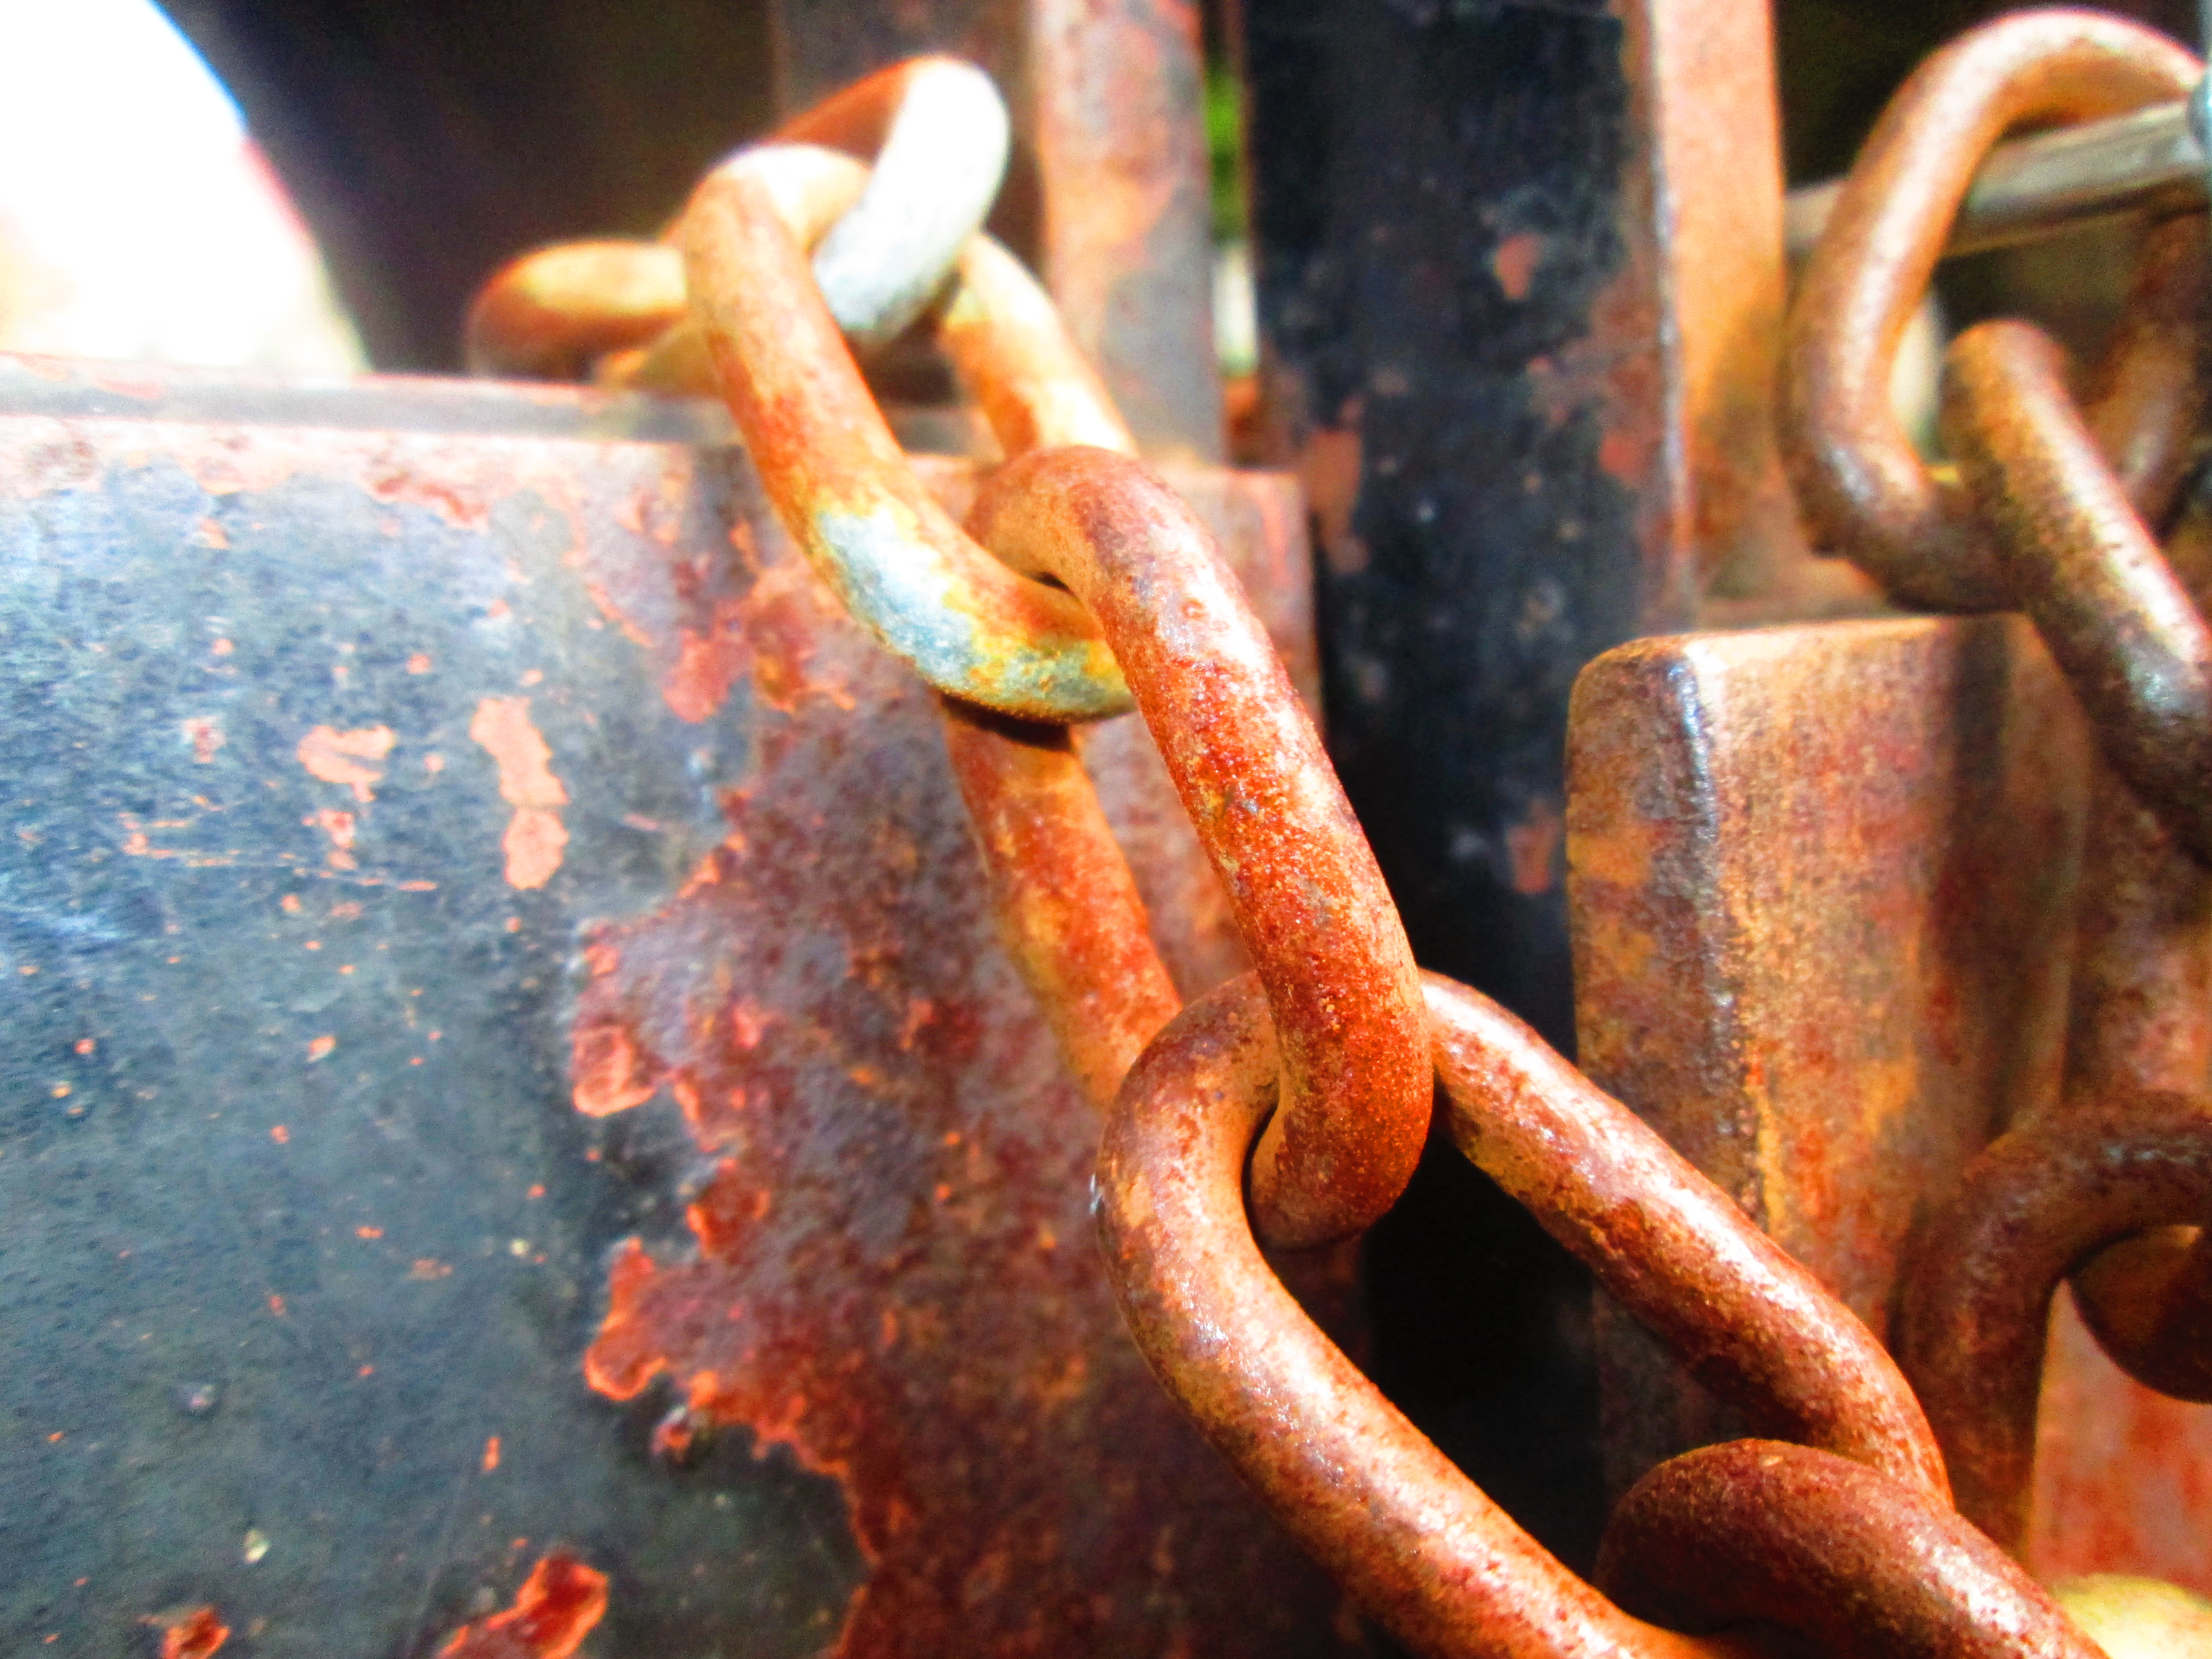
    • Shading without black. I have removed the black oil pastels for a reason! Black will get into everything and create a giant mess. There are no true blacks in nature. Look for subtle ways to darken colors (ie. rust and brown will darken reds & oranges, indigo blue and slate gray will darken cool colors.) Practice creating your own black by combining darker colors such as slate gray, indigo blue, and brown.

Using the Rule of Thirds to Establish a Focal Point

Due to its extreme close up nature, macro photography results in simple, minimalistic images. You can add visual interest to macro photos by following the rule of thirds to showcase a clear focal point. When you look at a photo, you should be able to easily answer the questions, “What is this photo about?” and “What is the most important part of this photograph?” Here are some great macro photos taken during last class. Notice how each photo has a clear subject or focal point:

Photo Credit: Rickie

Photo Credit: Rickie

Photo Credit: Rickie

Photo Credit: Rickie

Photo Credit: Mckenzie

Photo Credit: Mckenzie

Photo Credit: Javier

Photo Credit: Javier

Photo Credit: Javier

Photo Credit: Javier

Photo Credit: Isabel

Photo Credit: Isabel

Photo Credit: Isabel

Photo Credit: Isabel

Rule of Thirds

To apply the rule of thirds to your photograph, break an image down into thirds (both horizontally and vertically) so that you have 9 parts. Place points of interest in the intersections or along the lines to create a more balanced and visually interesting photo. Studies have shown that people’s eyes usually go to one of the intersection points rather than the center of the shot. When we use the rule of thirds, we make the way people naturally view images work for us rather than against us.

kohphiphi-15

4286577129_2ecc78308d_z_1   rule-photography2

Today we will:

  • Shoot macro (extreme close up) photographs outside. Remember to:
    • frame your image so it follows the rule of thirds
    • photograph the same subject from different camera angles
    • keep your camera at least a foot (12 inches) from your subject to prevent blurry photos
    • show depth in your photo (do not simply photograph a flat subject such as a mural)
    • make sure your image has a clear focal point or subject
  • Transfer our photos from our phones or SD cards onto the computer
  • Upload our best 6-20 photos to our Google Drive accounts and our class blogs
  • Publish a new blog post with our best 6-20 photos and a few sentences describing what you are happy with and what you still find challenging regarding the macro photography assignment
  • Clear the SD cards
  • Return the cameras and charge the batteries

Georgia O’Keeffe Project Part 1: Macro Photography

Our next project has two parts. First, we will take extreme close up photographs. Then, we will create a large scale oil pastel drawing of our favorite photograph.

Macro photography is extreme close-up photography, usually of very small subjects, in which the size of the subject in the photograph is greater than life size.

Nine-Berries-960x640

The-Blue-Dragon-960x640

Brown-Toad-and-Leaf-960x636

Here are some macro photographs taken by SOTA students:

Photo Credit: Jenny, Grade 12

Photo Credit: Jenny, Grade 12

Photo Credit: Deanna, Class of 2015

Photo Credit: Deanna, Class of 2015

Photo Credit: Marina, Grade 11

Photo Credit: Marina, Grade 11

Photo Credit: Yoshua, Grade 11

Photo Credit: Yoshua, Grade 11

Part 1: Macro (Extreme Close Up) Photography

  • 2 photo shooting days (best 6-20 photos from each class uploaded to your blog)
  • 1 day editing and critiquing photos; create new blog post with 5 favorite macro photographs. Ms. Lawson will give feedback on which photos would work best as a reference for the oil pastel drawing.

 Part 2: Large Scale Abstract Oil Pastel Drawing

  • 14×19 oil pastel drawing of one of your favorite macro photos

Today we will:

  • Demonstrate how to use the class cameras, transfer images from the SD card to the computer, post photos to the blog, and clear the SD card
  • Spend about one period taking close-up photos outside
  • Publish a new blog post with the following:
    • the best 6-20 photos taken during today’s class
    • a few sentences describing what you like about the photos today, and what was challenging
  • Clear the memory card, remove the battery, return the camera to the bag, and plug the battery into an outlet to charge

Featured Artist: Kerby Rosanes

Today’s essential question: How does using both thin and thick lines create a more interesting artwork?

Today we will continue working on our black ink collage drawings.

For inspiration, examine how illustrator Kerby Rosanes creates visual interest with a variety of line weights and ink shading techniques:

tumblr_mo66m7qHqG1qmjp01o1_1280

tumblr_nctjtawOAU1qmjp01o5_1280

tumblr_n6l3yhrjbI1qmjp01o1_1280

tumblr_nterhg0SUY1qmjp01o1_1280

tumblr_non4dxUN011qmjp01o1_1280

Here is a brief biography from his website: “Philippines-based illustrator Kerby Rosanes works mainly with ordinary black fine liners to magically illustrate his “doodle” world. The 24-year old artist considers his art as a personal hobby which turned out to be his part-time freelance work after being recognized by various design blogs, international magazines and online art communities. Most of his works are characterized by whimsical lines, patterns, characters and little elements that are spontaneously combined to create massive compositions depicting his everyday inspirations or scenes from his quirky imagination.”

Symbolic Self Portrait: Can I get the good paper and start drawing?

Objective: Create a symbolic self portrait with black ink pen. The artwork should depict at least four images that represent the artist, and show an understanding of both design composition and black ink technique.

You must complete the following mini lessons before you will receive the final project paper:

  1. Upload your reference collage to your blog. Ms. Lawson must approve your collage before she will print it.
    Here are some examples of collages that are ready to print:

    Image Credit: Subash

    Image Credit: Subash

    Image Credit: Katelyn

    Image Credit: Katelyn

    Notice that the example collages meet the following requirements:

    • contains at least 4 images
    • contains overlap
    • images are a variety of sizes
    • balanced asymmetrical composition that displays unity
    • black & white
    • represents the artist
  2. Pen and ink sketchbook practice.
    In your sketchbook, practice each of the following pen and ink techniques.
    Star any techniques that you may wish to use in your project and note where you would like to use them.
    Include what size pen you used to achieve each look:
    pen_and_ink_techniques

Project requirements:

  • 11×14″ design fills a 12×15″ piece of paper with 1/2″ border
  • Contains at least 4 images that represent the artist
  • shows an understanding of design composition by including the following elements:
    • contains overlap
    • images are a variety of sizes
    • balanced asymmetrical composition that displays unity
  • Shading:
    • shaded exclusively with black ink pen
    • shows an understanding of pen technique
    • shading realistically depicts volume and lighting
  • Exceptional craftsmanship

Design Composition: Movement, Repetition, Rule of Thirds

Today we will finalize our collages.

Here are some examples of strong designs:

How does the example below use repetition and the rule of thirds to create a strong composition?

Katelyn's collage

Katelyn’s collage

How does the arrangement of objects in the example below create movement and a focal point?

Ralph's collage

Ralph’s collage

Today we will:

  • Finish our collages, making sure they include the following:
    • movement
    • unity
    • focal point
    • balance
  • Create a new blog post with the following:
    • a jpg of a final collage to our blogs
    • a paragraph explaining your rationale for choosing each image in your collage.
  • Finish your free art square
  • Begin sketching out your collage design on good drawing paper.
The following people need to email Ms. Lawson the link to their blog:
  • Azari
  • Alexis
The following blogs are not working. Log into your email account to verify your email, and if the blog still does not work, see Ms. Lawson for help:
  • Rickie
  • Illia
  • Chanet
  • Subash
The following people still need to turn in their free art squares. The last day Ms. Lawson will accept them is Monday:
  • Javaughn
  • Taylor
  • Starr
  • Azari
  • Alexis
  • Raphael
  • Javier
  • Victoria
  • Chanet

A note about supplies: If you still need to buy black ink art pens, Ms. Lawson has brought in examples. They are about $2.50/each. If you would like to place an order so you do not have to go to the store, please let her know which size pens you would like and she will purchase them over the weekend. (Recommended sizes are 01, 03, 05, and 07/08. If you are on a tight budget, purchase at minimum a 01 and you can use the class ultra thin Sharpies as a substitute for the larger sizes.)

Creating Our Reference Collage in Photoshop

Today we will use the Photoshop skills we learned yesterday to create a digital collage that represents us.
We will print this collage and use it as a reference when creating our black ink drawing.

Ms. Lawson's collage

Ms. Lawson’s collage

Collage requirements:

  • contains at least 4 images
  • contains overlap
  • images are a variety of sizes
  • balanced composition that displays unity
  • black & white
  • represents the artist

Part 1: Downloading images to use

  1. Open a browser and go to images.google.com
  2. Type in what you are looking for. You may need to adjust the search terms. For example, “cute kitten” will yield better results than “picture of a kitten being cute.”
  3. Click on “search tools,” and select “large.” This will make sure that your picture will print clearly and not blurry.
    search
  4. To download an image, click on the image, then click “view image,” then right click “save image as.”
    Tip 1: Do not drag the thumbnail to your desk top or you will wind up with a tiny, useless image.
    Tip 2: Remember where you saved your image or you will not be able to find it later!
  5. Repeat steps 1-4 until you have downloaded at least 6 images.

Part 2: Creating a collage in Photoshop

  1. Open Photoshop.
  2. File -> New
  3. Set your file up according to the instructions below (use your name instead of mine!)
    new_file
  4. Open your first image. In the layers palette at the bottom right of the screen, double-click on the background layer so your can rename it something other than background.
  5. Use a tool of your choice to remove the background.
    Forgot how to remove backgrounds in Photoshop? Review the instructions from yesterday’s veggie tutorial.
  6. File -> save. This will save the picture as a Photoshop file.
  7. Click on the icon with two small squares in the top right corner of the screen. This will allow you to see all the images you currently have open.
  8. Select the move tool in the toolbar on the left side of the screen. move_tool
  9. Click and drag the image into the main window. It should turn black & white.
  10.  In the layers palette at the bottom right of the screen, double click on the layer name and name it something identifiable.
  11. File -> Save
  12. Repeat steps 4-11 until you have all the images in your collage file.
    Tip 1: To make an image look like it is on top of another image, that layer should be on top of the other layer.
    Tip 2: To make an object smaller, larger, or to rotate it, Edit -> Free Transform at the top of the screen.
  13. File -> Save
  14. Save your image as a .jpg File -> Save as -> .jpg.

Part 3: Creating your Blog Post

  1. Post the jpg of your collage
  2. Post all the images you originally downloaded
  3. Write whether you are finished with your collage and would like me to print it, or if you are still working on it, what you plan to do next class to finish it

Need help? Please follow the following process:

  1. Check the blog
  2. Ask two classmates
  3. Still stuck? Raise your hand and Ms. Lawson will help you as soon as she is available.
    Exception: If you do not have the class blog open and cannot tell me what step you need help with, I will not help you.

Today we will:

  • Download at least 10 images that we may use in our collage
  • Create our collage in Photoshop
  • Save our collage as both a Photoshop file (.psd) and a JPG (.jpg)
  • Create a new blog post with the following:
    • the original images you downloaded from the internet
    • a jpg of your collage image
    • write whether you are finished with your collage and would like me to print it, or if you are still working on it, what you plan to do next class to finish it

New Project: Symbolic Self Portrait

For our first drawing project, we will create a symbolic self portrait. We will start by downloading images that represent us. We will then create a digital collage of these images in Adobe Photoshop. Finally, we will draw our collage with a black ink pen.

Here is an example of the digital collage I created in Photoshop to use as a reference:
personal_collage_11x14

Here are the images I downloaded:
2000px-IMac_vector.svg   bgho6w1-1_0   IMG_0319   Gerbera Daisy-7-jpg   orange-gerbera-daisy-on-white-background-ii-zoe-ferrie   gerb   MousePad1

In order to create our digital collage, we will need to learn how to use Photoshop. Today we will complete two tutorials. These tutorials will teach us how to remove the background from an image in Photoshop, how to combine multiple images into one Photoshop file, and how to use the transform tool to scale and rotate an object. We will complete both the veggie and kitten tutorials, save a Photoshop version of our file and a png of each tutorial to our username, and post the PNG to our blogs. You must post your work from today in order to receive participation points.

Links to the resources we will use today:

Veggie Tutorial (teaches us how to use a variety of tools to remove the background from an image)

Veggie Tutorial Starter File

Completed Veggie Tutorial

  • Click here to view the step-by-step instructions for the veggie Photoshop tutorial.
    (If you do not have this file open and cannot tell me what step you need help with, I will not help you.)
  • Click here to download the veggie Photoshop file.

Kitten Dress Up Tutorial (teaches us how to combine multiple images into one Photoshop file, and how to use the transform tool to scale and rotate objects)

Completed kitten dress up tutorial

Completed kitten dress up tutorial

  • Click here to view the step-by-step-instructions for the kitten dress up Photoshop tutorial.
    (If you do not have this file open and cannot tell me what step you need help with, I will not help you.)
  • Click here to download the kitten dress up Photoshop file.

Need help? Please follow the following process:

  1. Check the blog
  2. Ask two classmates
  3. Still stuck? Raise your hand and Ms. Lawson will help you as soon as she is available.
    Exception: If you do not have the class blog open and cannot tell me what step you need help with, I will not help you.

Today we will:

  • Complete the veggie tutorial. Save your file to your username as both a photoshop (.psd) file and a .png file.
  • Complete the kitten dress up tutorial. Save your file to your username as both a photoshop (.psd) file and a .png file.
  • Create and publish a new blog post with the following:
    • a png of your completed veggie image
    • a png of your completed kitten dress up image
    • a paragraph describing how you create each image. Include any challenges you faced, and how you worked through those challenges.

If you have time, begin brainstorming some images you make want to include in your symbolic self portrait. We will begin working on our symbolic self portraits next class.

Setting Up Our Class Blogs and School Gmail Accounts

Computer-Cat

Today we will set up our Google Drives and blogs. By the end of this class you should:

  • set up your class blog
  • email Ms. Lawson the link to your class blog from your school Gmail account
  • publish your first blog post

Part 1: Setting up a WordPress account

If you have a WordPress account from last year, skip to Part 2.

  1. Click here to set up a WordPress account. (This will be your Foundations 2 class blog.) You may choose any free template you like, but keep in mind that you will need to post both text and images, so you should pick a template that supports both of these requirements well. Use your real email address – you will have to verify your email in order to publish blog posts.
  2. Log into your email account, open the email from WordPress, and click on the link to verify your email address.

Part 2: Logging into your district Gmail account

  1. Click here to log into your district Gmail account. Your username will be your student ID # @rcsd121.org.) Ex. 8123456@rcsd121.org, and your password is your district computer password. (Your district gmail account has unlimited storage space and will give you access to DropBox, which is a great free way to back up your files.)
  2. Email Ms. Lawson (2013045 at rcsd121.org) from your district Gmail account.  You will not receive credit if you email me from another email client. Your email should include:
    1. Your first and last name
    2. A link to your WordPress blog. For example, “Stephanie Lawson – My blog URL is SOTAfoundations2.wordpress.com.”

Part 3: Publishing your first blog post

Publish your first post by clicking on this icon at the top of your WordPress screen Screen Shot 2015-07-09 at 9.49.23 AM
Include the following:

  1. Post an image by following these steps:
    1. Go to images.google.com
    2. type in what you are looking for (ex. “cutest kitten in the world”)
    3. click on the image you want to download
    4. control +click -> save images as
    5. save the image to your desktop
    6. Click on the “add media” button Screen Shot 2015-07-09 at 9.50.16 AM
    7. Click on “upload files” Screen Shot 2015-07-09 at 9.51.03 AM
    8. Click on “select file” Screen Shot 2015-07-09 at 9.51.20 AM
    9. Select the image you want to insert
  2. Write a paragraph with the answers to the following questions:
    1. Describe your previous experience with computer art.
    2. What are 5 of your current favorite songs that could be played in class?
    3. Whose is responsible if the computer crashes and your project disappears? What will happen?
    4. How will you back up your work?
    5. When is food allowed in the classroom?
    6. List the circumstance under which I may refuse to offer you extra help:
    7. List some easy ways to gain participation points:
    8. List some easy ways to lose participation points:
  3. Click “publish” at the bottom of the screen to publish your post. Screen Shot 2015-07-09 at 10.12.00 AM

If you have time, set up the “About” page on your blog.

Need help? Please follow the following process:

  1. Check the blog
  2. Ask two classmates
  3. Still stuck? Raise your hand and Ms. Lawson will help you as soon as she is available.

If you finish early, help your classmates set up their blogs or finish the social media handout.

Welcome again! We are going to have so much fun.